Ballistic Chronograph MK2 #DIY

DIY 3D Printed Ballistic Chronograph

A 3D Printed Ballistic Chronograph for $70 – $100 USD!

This ballistic chronograph is based on my original design, the MK1 (which can be viewed at https://td0g.ca/2016/07/28/ballistic-chronograph/). I’ve used the MK1 to take many high-speed photos, including a shot of a mach-2 bullet hitting a nice wine glass!  The new MK2 has the same performance as the original, but is much easier to construct.  It can be used for measuring high-powered rifles, paintball guns, and everything between!

3D Printed Ballistic Chronograph

Read more

Simple Sonic Anemometer #DIY

DIY Sonic Anomemoter

Measuring Air Flow – Made Easy

A sonic anemometer is a device that measures air velocity using sound. A speaker on one end of the device emits a ‘ping’, and a sensor waits for the ping to arrive. If the air is not moving, then the delay between ‘pinging’ and ‘receiving’ is always the same (kinda).

If the air is moving from the sensor toward the emitter, then the delay gets longer since the ping is traveling upstream. Conversely, if the air is moving from the emitter toward the sensor, then the delay gets shorter since the ping is traveling downstream.

I built this anemometer to measure airflow rates of various small fans.

Ingredients

All you need is an Arduino, an HC-SR04 ultrasonic distance sensor, a piece of 3/4″ PVC conduit, and a 3D printer. The 3D print file and firmware is available on Github.

3D Printed Sonic Anemometer

Read more

High-Speed LED Pulsing Experiments

This page is currently being populated with past experiment data.  All future experiments will be added shortly after their completion.

The plans for Edgerton are available for anyone to build their own high-speed flash.  I designed the flash by building a prototype and doing lots of testing.  Until now, I haven’t kept an updated log of all the experiments performed on the LED’s.  Maybe some people would like to see all the details behind the designing and prototyping of the flash.  Others may be interested in designing their own high-speed LED flash.

The complete experiment logs can be found at github.com.

Read more

Edgerton, A High-Speed LED Flash #DIY

2019-07-25 – The list price of the well-designed Vela One has recently dropped.  I originally quoted it at about $1,750 CAD but unfortunately don’t have any proof.  As of today, the Vela website indicates it is exactly $1,526.70 CAD. The archive.org website shows that the price has indeed fluctuated over time.

2019-08-01 – A big THANK YOU to NQTRONIX who has kindly gifted me an active light probe of his own design.  The probe will be used with an oscilloscope to measure the flash duration, trigger response time, light output -v- current, and other helpful things.  I will update this post with the data once testing commences.  NQTRONIX put a TON of time into designing, testing, and optomizing his probe.  Please consider checking out his instructable page and leaving him a like or comment!

2020-07-01 – The ‘Mark 2‘ high-speed flash is complete!  The plans are available to build your own, or contact me if you’re interested in purchasing a strobe.  I’m focusing my development on the new E2-A and promoting it as a replacement for the original Edgerton strobe. 

  • If you’ve put money and effort into building the original Edgerton flash, please continue using it as it has the same performance as the newer E2-A.
  • If you are considering building a strobe, I would encourage you to use the newer E2-A design as a more robust design.
  • If you are set on building the original Edgerton strobe in order to save a few $$, then the main control boards are available at https://www.tindie.com/products/19592/.

2020-07-03 – I’m realizing that the following notes should have been added back when I first made this post, but better late than never.  I’ve personally never experienced a catastrophic LED failure during normal use, but at the same time I feel potential users should be made aware.

IMPORTANT NOTE #1: This strobe pushes the capabilities of the LED’s.  Complete failure of the LED’s is possible.  That means the expensive components can be accidentally destroyed and require replacing.  I’ve taken many precautions in the design to prevent this, but please consider building a strobe at your own risk.

IMPORTANT NOTE #2: The LED’s are not as powerful as a Xenon flashtube, and they do not turn on as long as a typical camera strobe.  Expect to crank up the ISO by several stops (4 or more) in order to capture usable images.


EDGERTON

Named in honour of the legendary Papa Flash.

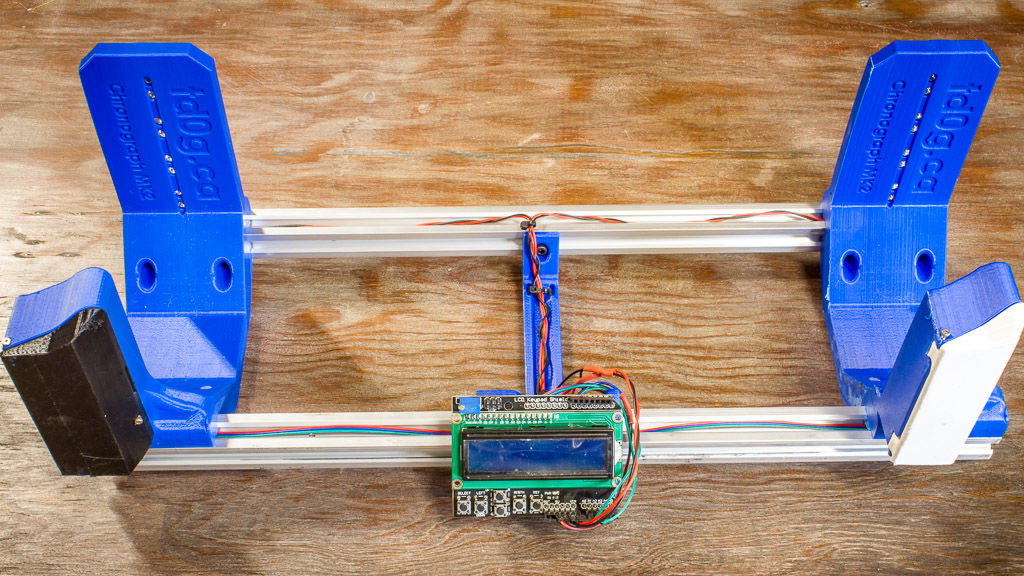
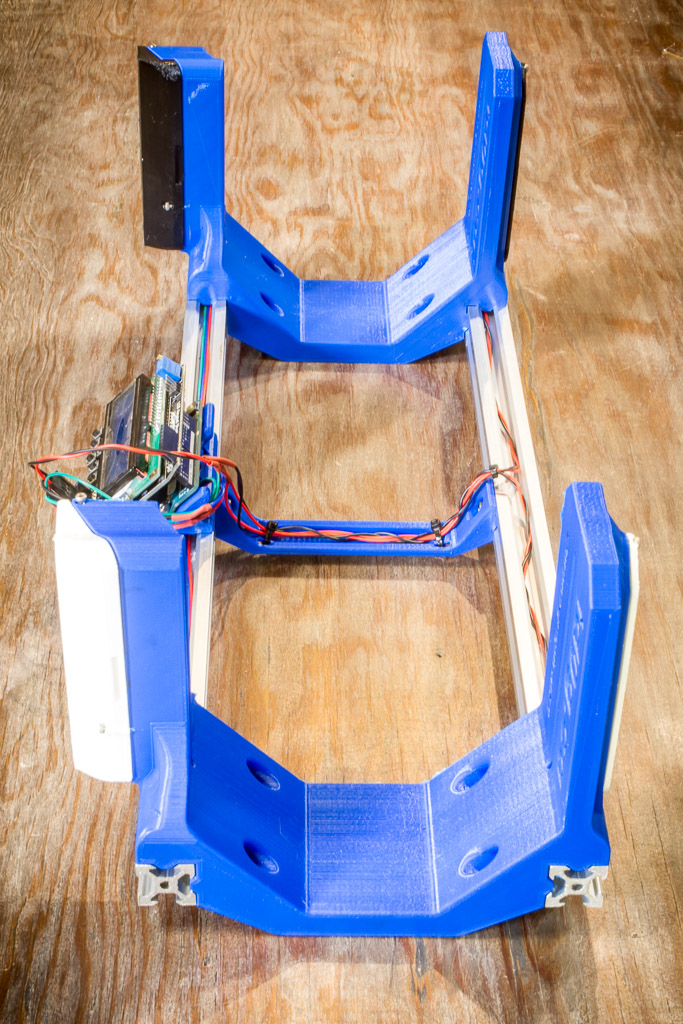
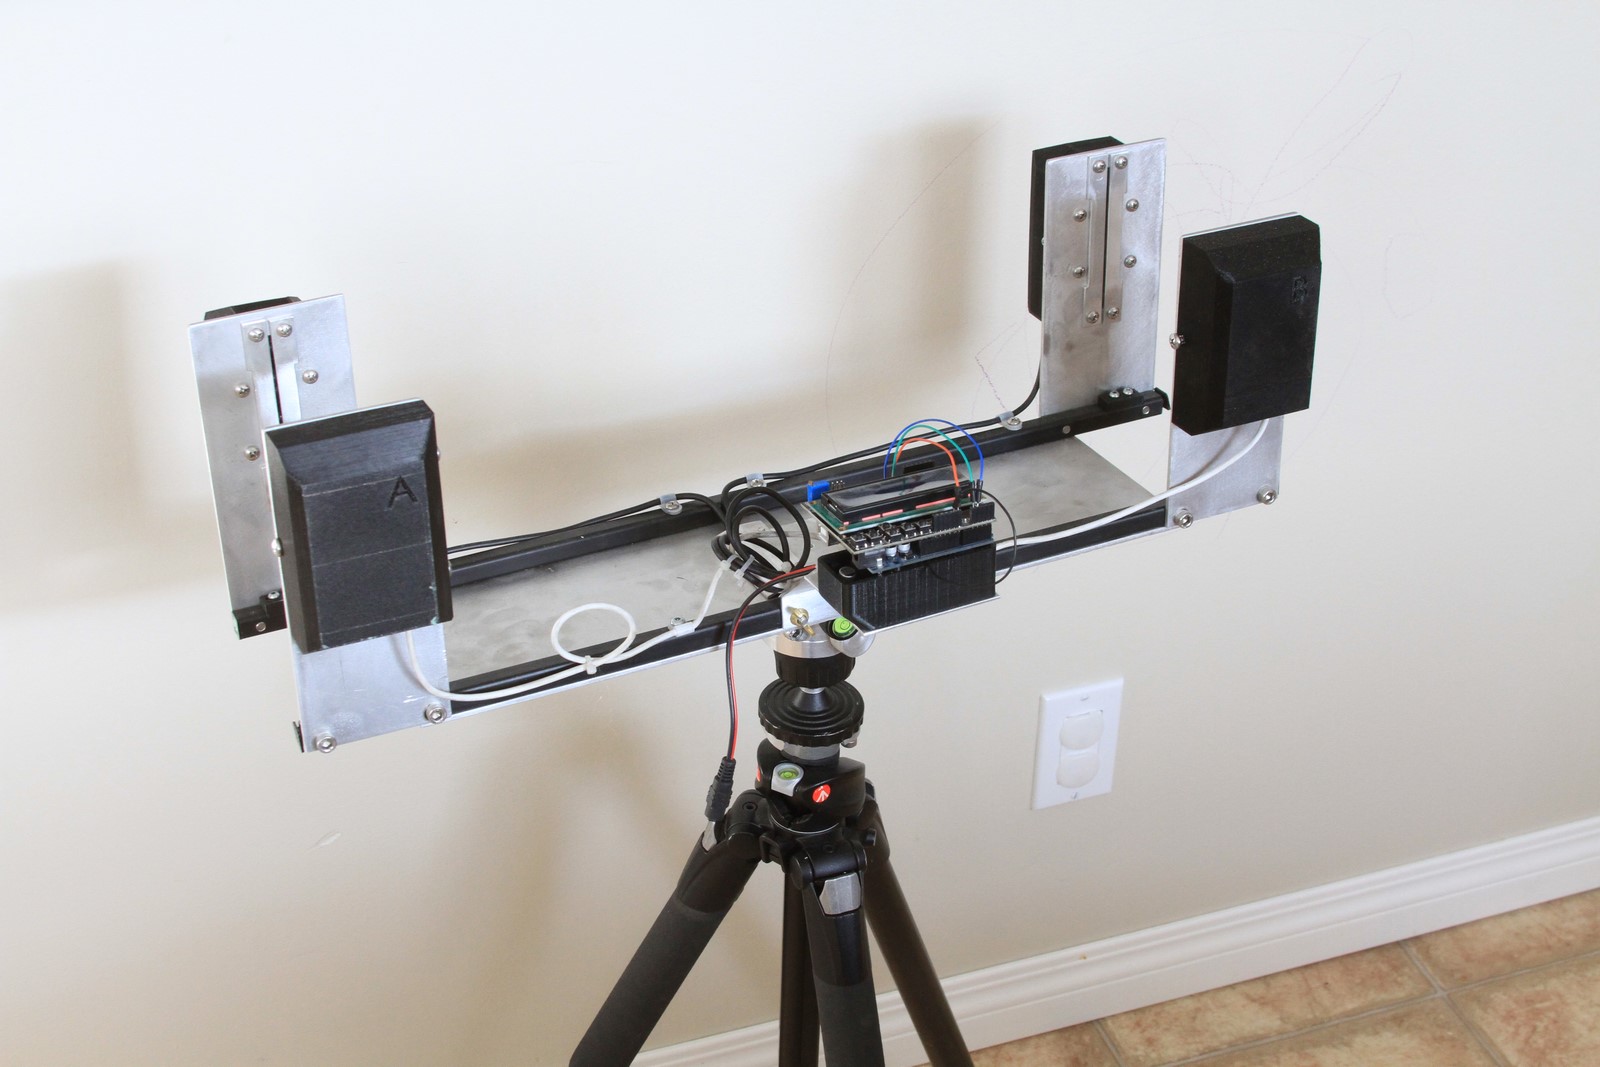
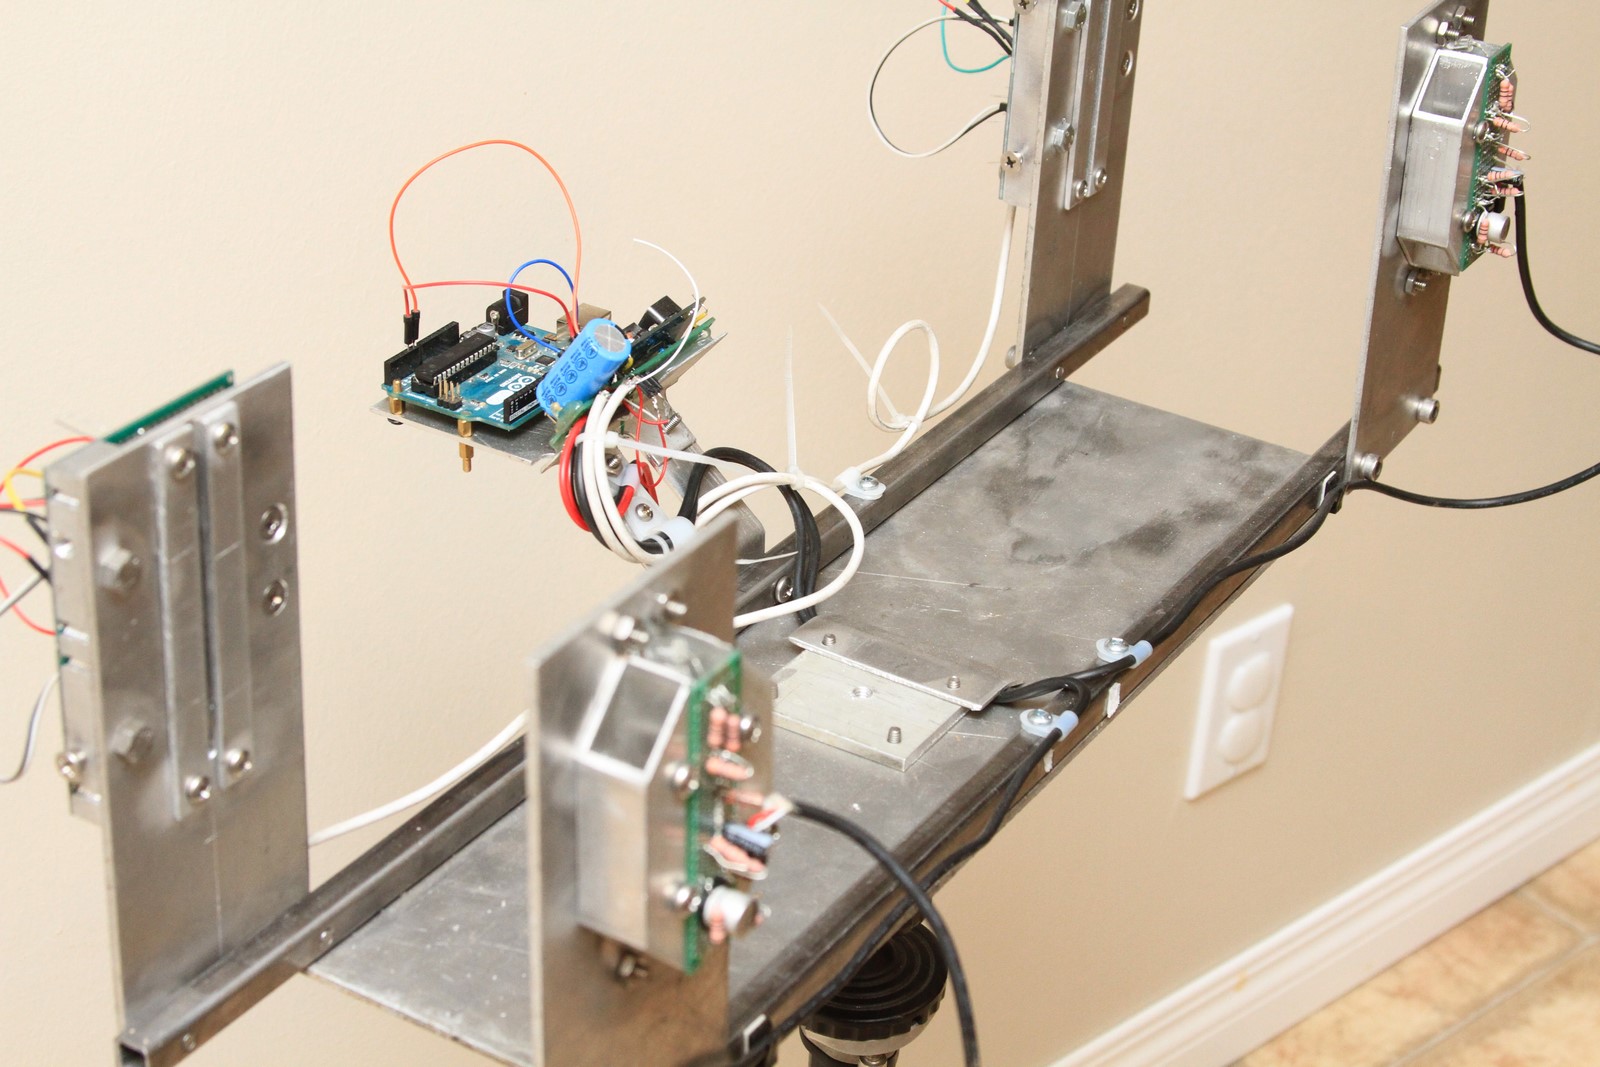
Some time ago I designed and built a ballistic chronograph and used it to take some high-speed photos of bullets striking glass. The results were great, but the photos were somewhat limited by the standard ‘speedlight’ flashes that I used – there was always some motion blur. Edgerton is a ‘High-Speed Flash’ which uses LED’s to make one-microsecond flashes to freeze motion.

Read more

Ballistic Chronograph #DIY

DIY Ballistic Chronograph

2020-07-14 – If you’re interested in building a ballistic chronograph, check out the new 3D-printed MK2 design at td0g.ca/2020/04/19/ballistic-chronograph-mk2-diy/.  If you would like to purchase sensors for building a chronograph, they are available at https://www.tindie.com/products/19828/.

Preamble:

A ballistic chronograph is an instrument which measures the speed of very fast things (like bullets).  I decided to build a DIY Chronograph which could be used for high-speed photography, such as glassware getting shot with an air-powered rifle (see my other post on this topic or my Flickr album).  In order to take such a photo, you need to be able to trigger a flash at just the right moment, which will freeze all the juicy action.

DIY Ballistic Chronograph

There are numerous resources available which give very limited information on how to build such an instrument.  Unfortunately all of the resources are incomplete or describe an instrument which only works for slower objects, such as paintballs or airsoft pellets.  I designed and built this using the information available on the internet, my modest understanding of electronics, and many hours of trial-and-error.  To somebody who has some knowledge of electronic components, this post can be used to build an instrument useful for measuring the speed of objects travelling up to 1,000 m/s (such as high-powered rifle bullets), and even photographing a projectile ‘interacting’ with other objects!

Read more