Guided Telescope Mount & Accessories (Tracker V3) #DIY

Astrophotography is a bit of a money pit.  I recently delved into it with my 80-200 f/2.8L and a home-built tracking mount.  It was so much fun that I decided to buy a telescope!  So my entire budget went into an 80mm APO.

The problem was that a telescope alone is useless for star pics – some quality infrastructure is needed.  This post is about my attempt to affordably build the following components:

  • High-precision Tracking Mount with an ASCOM-compliant driver
  • Guide camera and scope to help the tracking
  • Portable Power supply
  • Telescope Focusing motor with an ASCOM-compliant driver

Read more

Camera Timelapse Rig (IREnE) #DIY

PREAMBLE:

Note: As of August 26, 2019, the most incredible home-built camera rig award goes tomingul’s 8-Degree-Of-Freedom robot! It takes up an entire room and can be given gcode to perform some amazing camera effects.  My rig isn’t as cool, but much more mobile and simpler to build.

Camera sliders are fun tools to use for making dynamic timelapse videos, and they come with some cool features.  This is a clever little gadget that moves like a camera slider but folds much smaller.  Eggtimers are also commonly used to make a similar effect.  Some high-end gear can slide and rotate the camera at the same time for a particularly cool effect.  But how do you guild one that one that could go up to 11?

IREnE (Inverted Radial, Extension, Eggtimer) is not only named for the clever woman (nee Adler) who outsmarted Sherlock Holmes , but also the clever functions it can perform.  The ‘Inverted Radial’ is the slider’s defining feature which doesn’t seem to be possible on any consumer camera sliders.  It moves the camera in a circle around the foreground subject in a way that keeps the subject in view while the background view is constantly changing.  Here are some examples:

Read more

TRACKER V2.2

Orion Nebula by td0g

PREAMBLE:

The V2.1 update produced a working mount, but it unfortunately was not very user friendly.  I made a few modifications to improve the setup and aiming time, as well as its ability to disassemble and stow in a modest-sized wood box for storage and transport.

V2.2 (codename: HoLi) is the mount’s final design, as I’m very happy with it and have moved on to building the V3.0.  See the photo of Orion’s Nebula below taken using this mount, I’ve been happy with its performance using lenses as long as 300mm.

DIY Camera Astrotracking Mount
V2.2 – Codename: HoLi

Orion Nebula by td0g

Read more

Tracker V2.1

Andromeda Galaxy by td0g

Preamble:

Most DIY astro-tracking mounts can be described as either low-quality barn-door mounts (with questionable door hinges used as pivots) or high-cost and effort equatorial mounts (typically equipped with complex drive systems).  The original Tracker V2 was designed to be an attempt to combine low-cost and high-quality elements in a single mount.  The basic design could be described as a hybrid barn-door/equatorial style mount.

That said, Tracker V2 was tested using a 250mm lens on a cropped-sensor camera and did not produce sharp OR consistent images!  Further examination at the shop revealed that the 10-32 nut and threaded rod caused the arm to advance erratically.  There was no way to eliminate or even mitigate the issue, so a bit of an overhaul was in order.  Enter: Tracker V2.1!

NOTE: While the V2.1 modification corrected the drive issue and made the device useful for unguided DSO astrophotography, it suffered from usability issues which made setup and targeting very difficult.  Improvements were made for the V2.2 upgrade, which concludes this project.  I currently building a V3, which will be another screw & arm-driven equatorial.  It will have 2-axis auto-guiding among other improvements over the V2.x design (which has admittedly been a product of evolution rather than design and planning).  

Andromeda Galaxy by td0g

Read more

Pyrography Power Supply #DIY

Woodburning, Not Money-Burning

Wood burning is a popular hobby which can become quite expensive.  A quality wood burning system consists of: 1. A pen or selection of pens and 2. A power supply (station).  I decided to invest in a series of Razertip wood burning pens simply because they were available at a local Lee Valley Tools store. They also have a 1-year unconditional warranty!  If I end up destroying a pen with a home-built supply then we will find out just how unconditional the warranty is.  The pens are available for ~$30 each, which can become a significant investment if you want more than one or two.  The stations run for $165 and up, which is the same price as six pens!  So lets ditch the station.

Read more

Ballistic Chronograph #DIY

DIY Ballistic Chronograph

2020-07-14 – If you’re interested in building a ballistic chronograph, check out the new 3D-printed MK2 design at td0g.ca/2020/04/19/ballistic-chronograph-mk2-diy/.  If you would like to purchase sensors for building a chronograph, they are available at https://www.tindie.com/products/19828/.

Preamble:

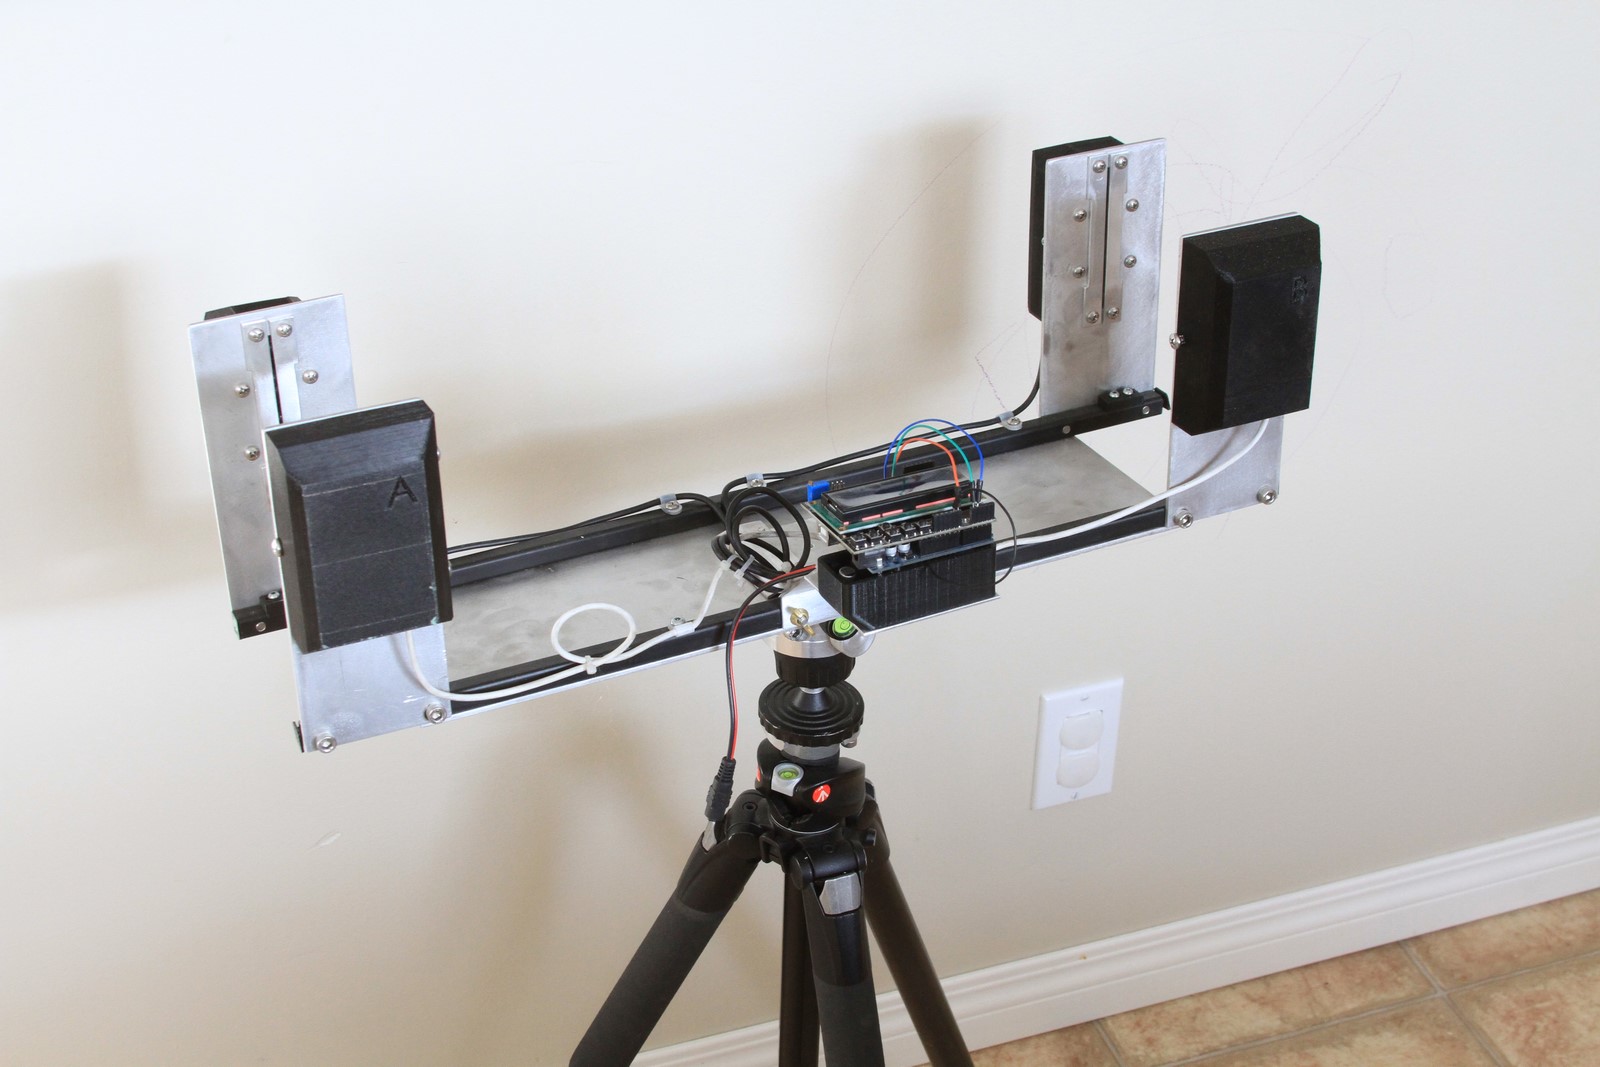
A ballistic chronograph is an instrument which measures the speed of very fast things (like bullets).  I decided to build a DIY Chronograph which could be used for high-speed photography, such as glassware getting shot with an air-powered rifle (see my other post on this topic or my Flickr album).  In order to take such a photo, you need to be able to trigger a flash at just the right moment, which will freeze all the juicy action.

DIY Ballistic Chronograph

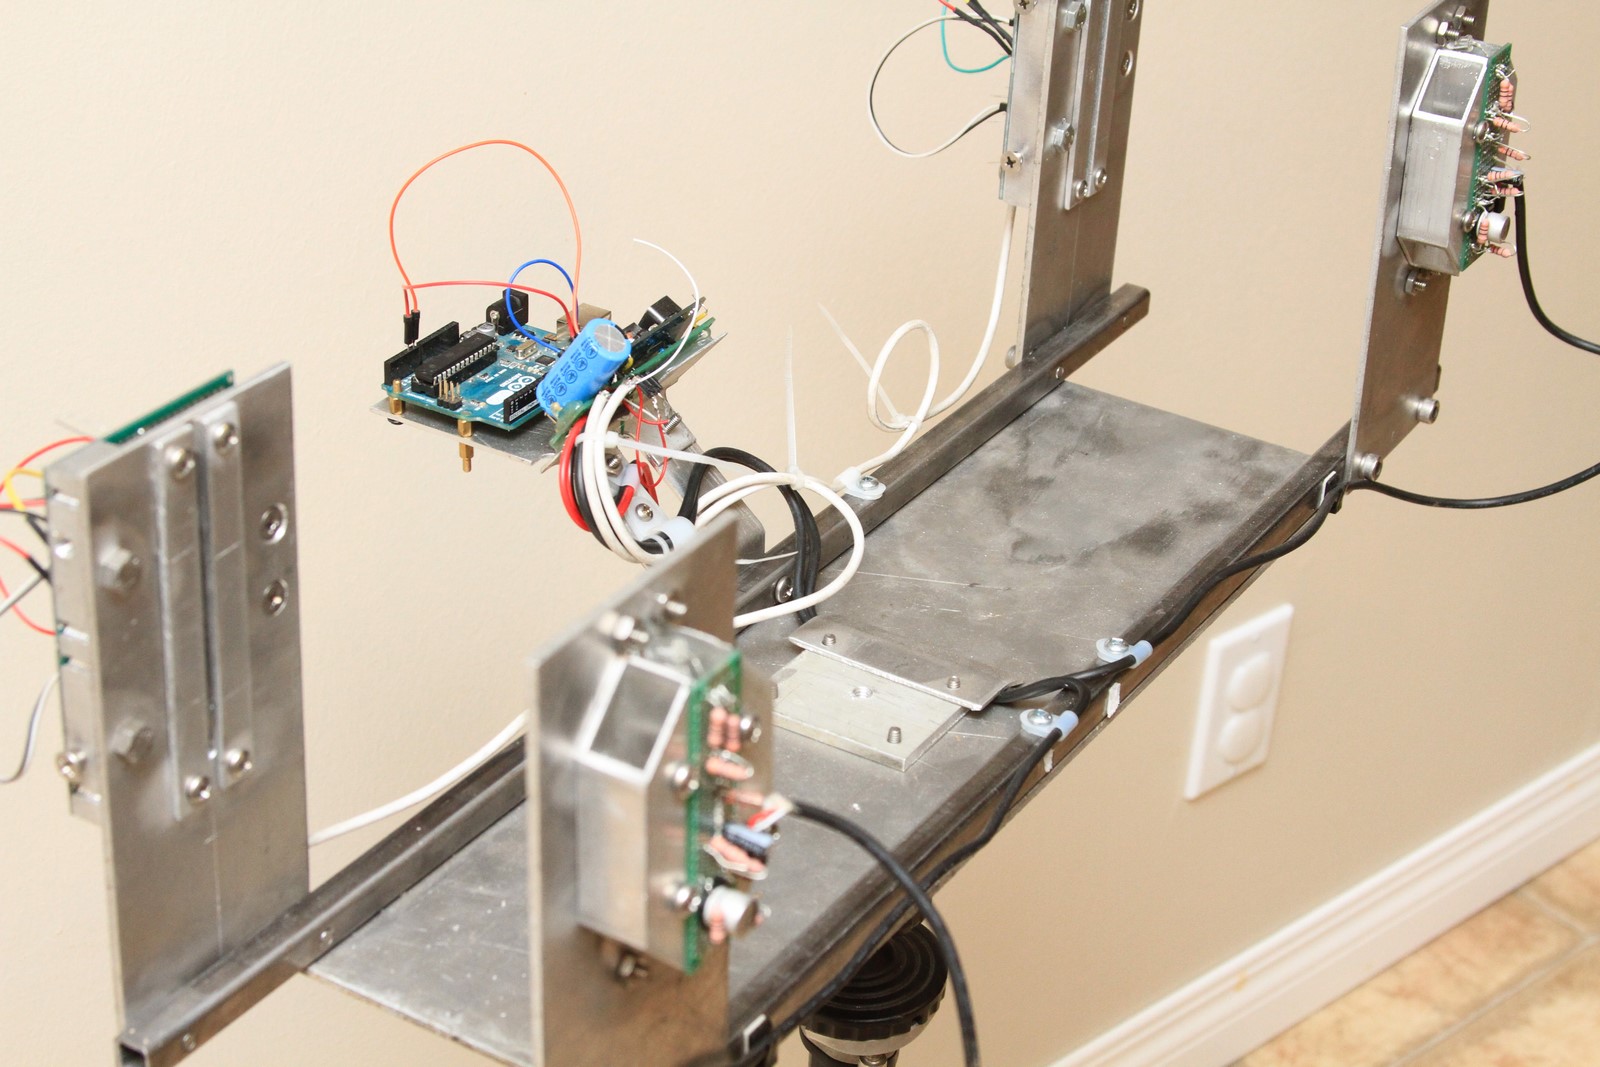
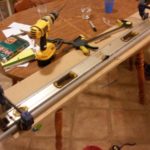
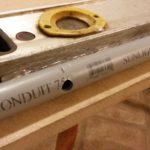
There are numerous resources available which give very limited information on how to build such an instrument.  Unfortunately all of the resources are incomplete or describe an instrument which only works for slower objects, such as paintballs or airsoft pellets.  I designed and built this using the information available on the internet, my modest understanding of electronics, and many hours of trial-and-error.  To somebody who has some knowledge of electronic components, this post can be used to build an instrument useful for measuring the speed of objects travelling up to 1,000 m/s (such as high-powered rifle bullets), and even photographing a projectile ‘interacting’ with other objects!

Read more

High-Speed Photography of Bullets & Glass

Preamble:

What does a  wine glass look like when it’s shot? (TL;DR have a look at my flickr album)

This obvious question was asked when my wife provided me with three wine glasses which were used to keep her Siamese Fighting Fish.  She couldn’t bring herself to drink from them after their use as aquariums.  So I decided to destroy them and make a few attempts at high-speed photography!

Read more

Camera Slider 1.0 #DIY

I’ve recently been keen on learning how to use and control stepper motors in a practical application. And it became apparent that the use of a stepper motor in a photographic slider (herein referred to as a PanoSlider) was an excellent challenge to start with. The reason? The PanoSlider had to provide fast, smooth, accurate, and powerful motion while being controlled by an intuitive user interface.
The actual design of the PanoSlider began in a typical fashion: by wandering around my collection of materials and devising a simple, easy, solid structure. I settled on a discarded construction level as a frame. 3/4″ PVC pipes were screwed onto the sides with sheet metal screws, and hot-melt glue (HMG) was added to prevent the pipes from rotating.  HMG is a generally underrated material, and its use is often limited to children’s crafts (and results in many finger burns).  In reality, it can be used as a fast-setting substrate with good strength, and its poor bond strength is useful in making temporary joints (for instance – I mounted the Arduino board to the PanoSlider assembly with HMG, then simply broke it off when it was no longer needed).

Read more

Tracker V2

NOTE: The Tracker V2 I described below had a major flaw: the curved threaded rod.  It was removed from the design and replaced with a straight section of Acme rod in Tracker V2.1, which works very well.  See Tracker V2.1 for more information and be aware that using a curved section of standard threaded rod is a bad idea!  Further improvements and a paint job were added for Tracker V2.2.

Having finished a first attempt at building a working Star Tracker, I’ve recently set out to build a second (final) version.  The goal was to use scavenged (read: FREE) mechanical components and cheap electronics from eBay China to build an automated tracking mount which could be used to capture high-quality DSO (Deep Space Object) and Planetary images.  I’ve also made an attempt to make it look nice.

The main body of the tracker was based around the pivot assembly – a modified treadmill roller.  Treadmills contain a large amount of useful mechanical and electrical components, so I try to pick up any old treadmills being given away on the local classifieds.  After disassembling the roller, I shortened the shaft and body to a practical and aesthetically pleasing length.

Read more