This post is incomplete, but I hoped to begin sharing my tools and experience so others could hopefully benifit.
I’ve been stunned by some Hydrogen-Alpha (Ha) astrophotos. Particularly when they’re combined with visible light photos (HaRGB and some other ways) the depth is stunning!
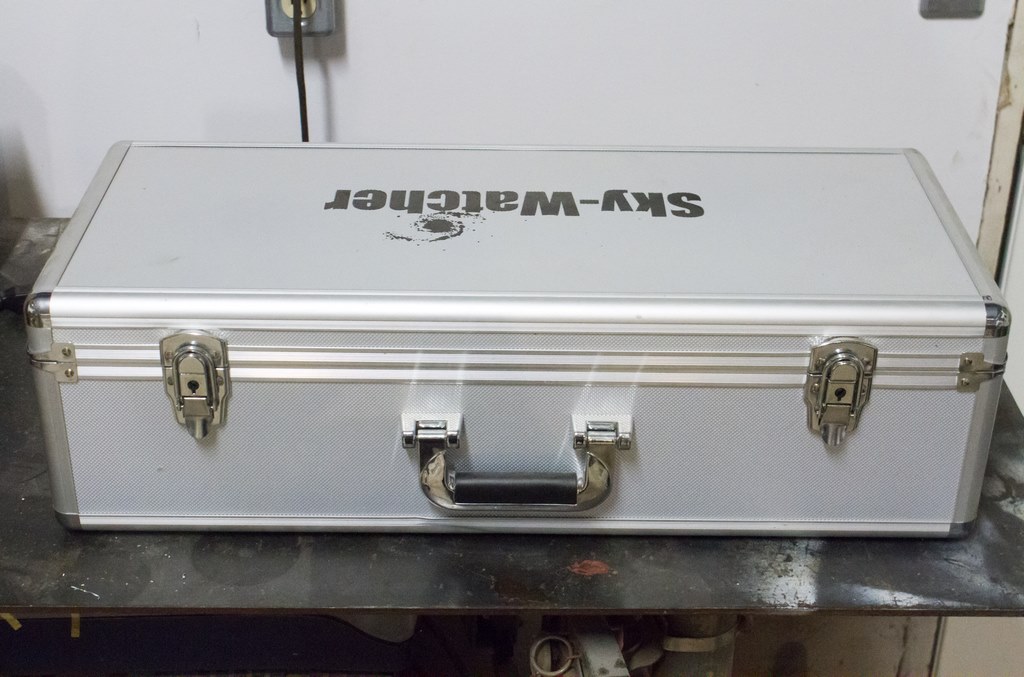
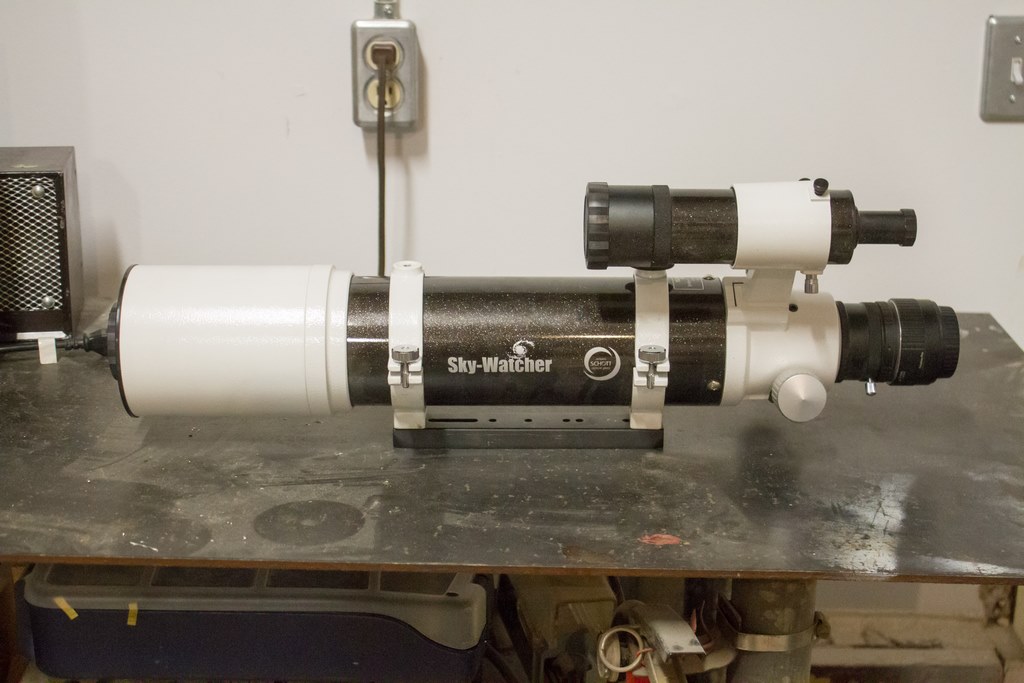
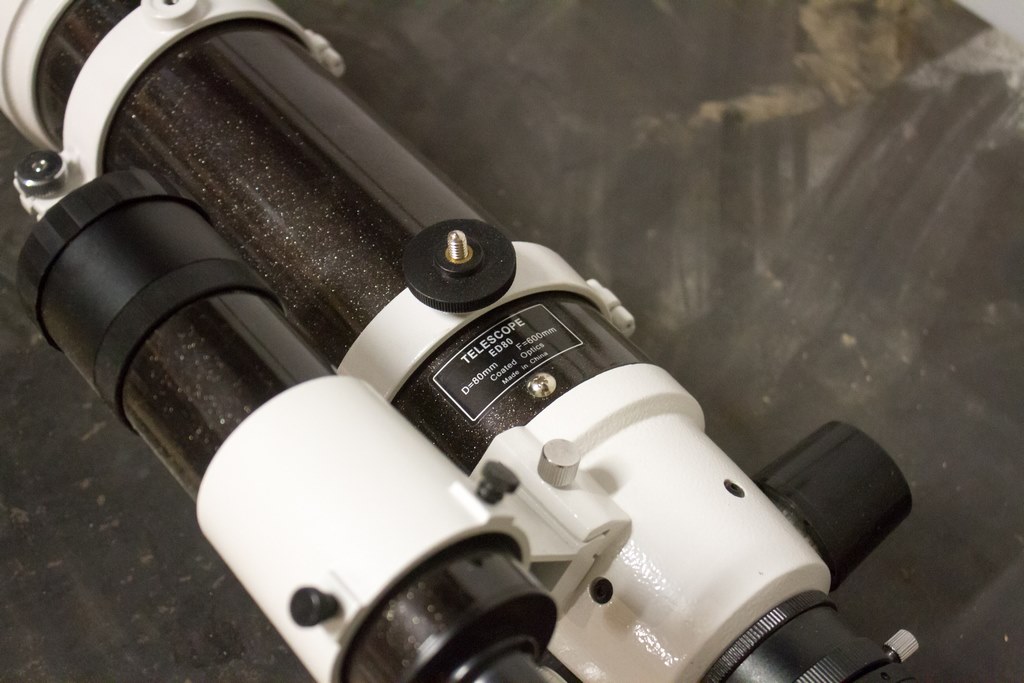
Unfortunately my astrophotography budget has been spent for the forseeable future. This is my attempt to capture those photos using the following equipment:
Let me be clear about something. GIMP is probably my favourite piece of open-source software. Truth told, I could have a license for Photoshop or PaintShopPro, and I would still use GIMP. That’s because it is so focused on functionality over style – which means that, despite its limited development (it’s open-source after all), it is a program that has the horsepower to compete with the big players. All you have to do is learn its quirky UI!
Astrophotography is a bit of a money pit. I recently delved into it with my 80-200 f/2.8L and a home-built tracking mount. It was so much fun that I decided to buy a telescope! So my entire budget went into an 80mm APO.
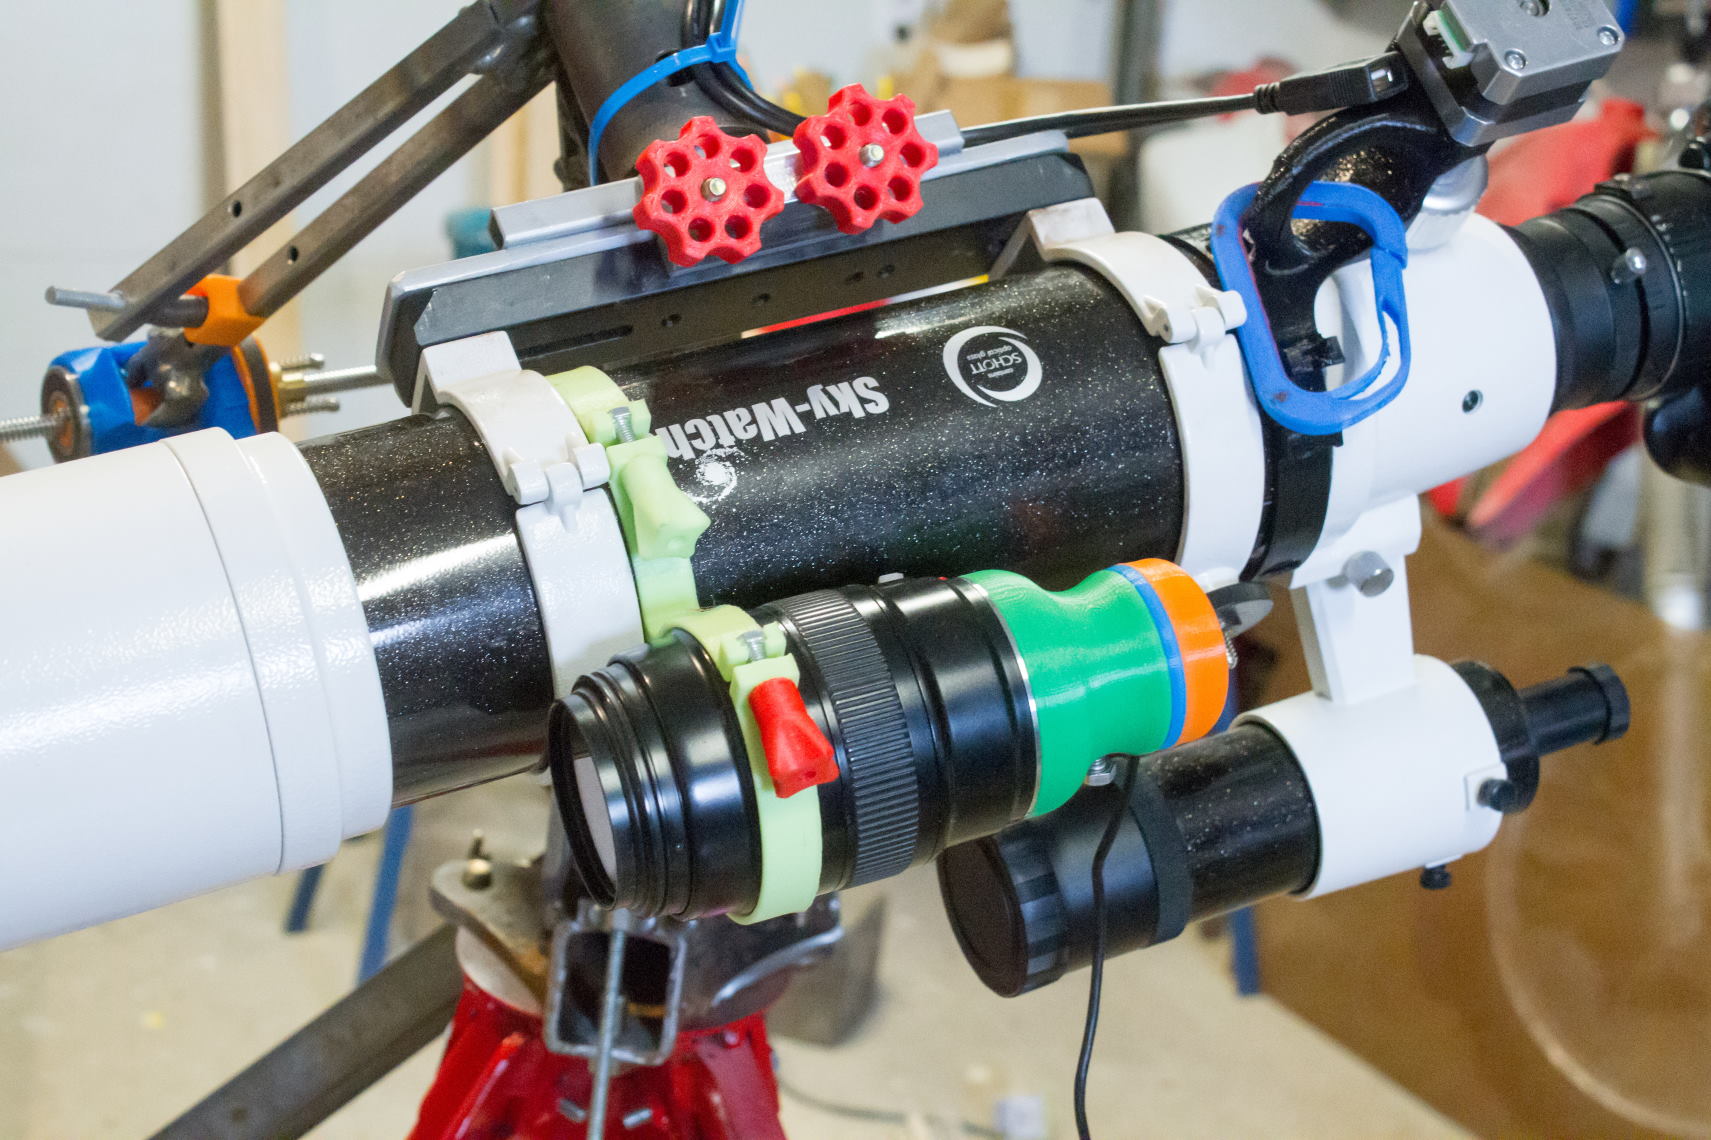
The problem was that a telescope alone is useless for star pics – some quality infrastructure is needed. This post is about my attempt to affordably build the following components:
High-precision Tracking Mount with an ASCOM-compliant driver
Guide camera and scope to help the tracking
Portable Power supply
Telescope Focusing motor with an ASCOM-compliant driver
The V2.1 update produced a working mount, but it unfortunately was not very user friendly. I made a few modifications to improve the setup and aiming time, as well as its ability to disassemble and stow in a modest-sized wood box for storage and transport.
V2.2 (codename: HoLi) is the mount’s final design, as I’m very happy with it and have moved on to building the V3.0. See the photo of Orion’s Nebula below taken using this mount, I’ve been happy with its performance using lenses as long as 300mm.
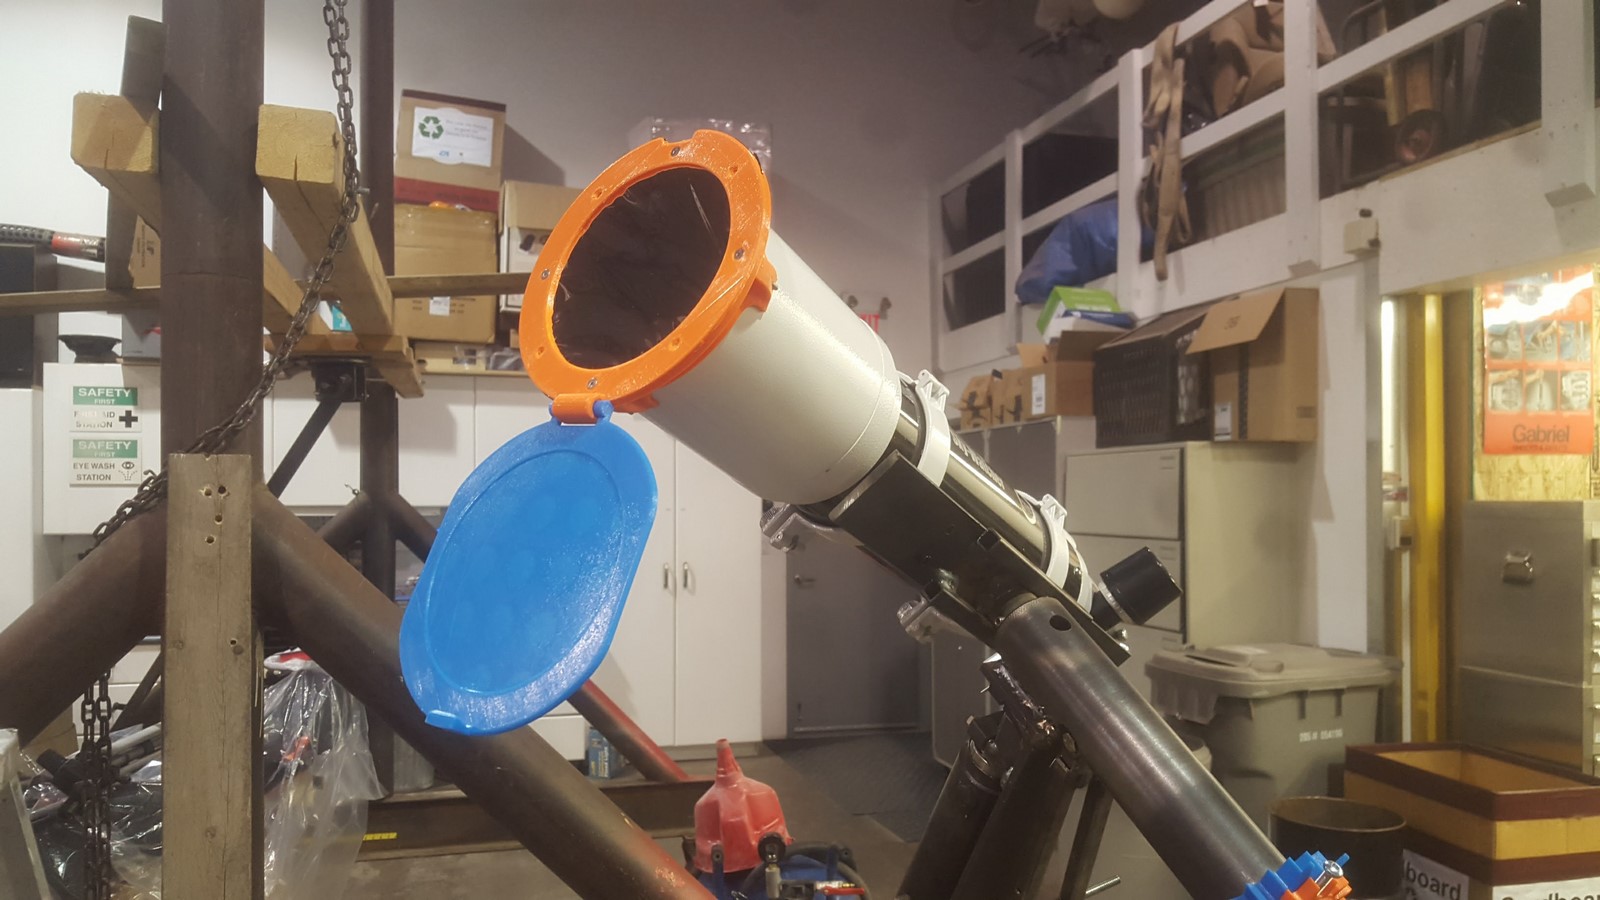
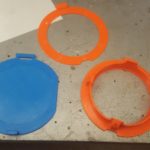
At the last minute, I purchased a sheet of Baader Planetarium solar film for the eclipse on Monday. With little time to spare, the film was taped to a cardboard box and slid over my telescope. Prayers were made that the wind wouldn’t blow the film off of the scope, and the next day I decided to build a proper holder for the expensive film – $100 CAD for an 8″ x 11″ sheet!
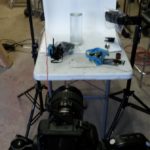
This obvious question was asked when my wife provided me with three wine glasses which were used to keep her Siamese Fighting Fish. She couldn’t bring herself to drink from them after their use as aquariums. So I decided to destroy them and make a few attempts at high-speed photography!
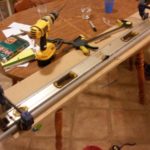
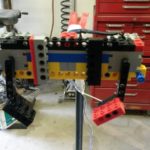
I’ve recently been keen on learning how to use and control stepper motors in a practical application. And it became apparent that the use of a stepper motor in a photographic slider (herein referred to as a PanoSlider) was an excellent challenge to start with. The reason? The PanoSlider had to provide fast, smooth, accurate, and powerful motion while being controlled by an intuitive user interface.
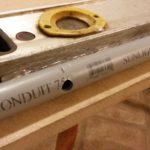
The actual design of the PanoSlider began in a typical fashion: by wandering around my collection of materials and devising a simple, easy, solid structure. I settled on a discarded construction level as a frame. 3/4″ PVC pipes were screwed onto the sides with sheet metal screws, and hot-melt glue (HMG) was added to prevent the pipes from rotating. HMG is a generally underrated material, and its use is often limited to children’s crafts (and results in many finger burns). In reality, it can be used as a fast-setting substrate with good strength, and its poor bond strength is useful in making temporary joints (for instance – I mounted the Arduino board to the PanoSlider assembly with HMG, then simply broke it off when it was no longer needed).
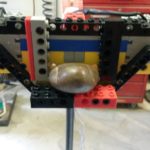
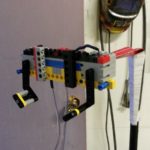
Using a lightstand as a base, this Lego build was positioned above a glass bowl filled with water. An Arduino Uno board controlled the camera shutter, a flash, and the Lego ‘Dropper’. The time delay between the drop and the flash trigger was entered into a laptop. The results can be seen at: https://flic.kr/s/aHskhKLsh9. A video of the rig in action is shown below.
The camera and wireless triggers were controlled via a 4N35 Optocoupler circuit (keeping the Arduino and the equipment completely isolated). The shutter speed was quite slow (~1/10s). This was due to the inconsistent shutter lag that plagued the operation at speeds faster than 1/10s. No problem though, the flash stopped the motion better than the shutter could have.
NOTE: See the more recent Tracker V2.1 post for a working star-tracking mount.
I’ve recently developed a healthy interest in astrophotography. A very useful tool for photographing the great beyond is an astrotracker. It counters the rotation of the earth (360 degrees per day) and allows for long exposure times without creating star trails. Here’s my POC build- it’s as cheap as borscht and worked great for very light loads. However, it failed to properly support my camera setup- a 5Dc with Tokina 16-28, total mass of over 1.8 kg (without the battery grip). As such, it is to be dismantled and a better version is in the works (waiting on eBay China parts). That said – If you have an SL1 with an EF-S lens (less than 1kg total mass), this may do the trick!
MDF
Screws, 1/4 nuts, 1/4 ready-rod, hot glue
Linear actuator from DVD-burner
eBay China L298N dual H-bridge – $4
eBay China mini breadboard – $1
Power resistors – $10
ATTiny85 microcontroller (and programmer)
Various tidbits here and there
The linear actuator operated on 5v, which meant that our 12v supply needed to be tamed with a couple resistors (biggest cost of the whole project). I used a 11×17 sheet of paper, folded into a tube for the 8xAAA battery holder and a spring to apply pressure to the battery contacts. A cheap battery holder will be a welcome update for the MK2.
As a note for future projects: the linear actuator was excellent for light-duty projects. Do not de-solder the power supply ribbon, instead simply cut it. The ribbon provides support to the feeble leads coming out of the motor (I ruined one motor by treating the leads harshly). The microcontroller was programmed to provide power for a brief duration (500ms) during each step. This greatly reduced heat build-up in the actuator, and likely greatly improved the actuator’s life. Finding a 5v H-bridge would be a nice improvement over the 12v L298N.
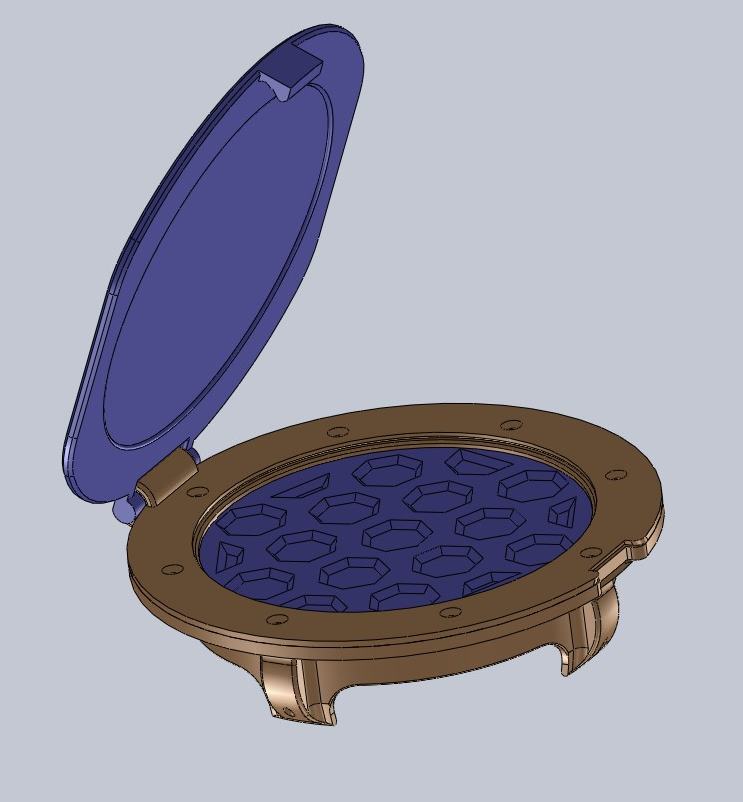
Base and Door
Dirt-cheap hinge design
Ugly as it gets. But works fantastically
Mounting hole on far end of base for linear actuator (motor)