Camera Timelapse Rig (IREnE) #DIY

PREAMBLE:

Note: As of August 26, 2019, the most incredible home-built camera rig award goes tomingul’s 8-Degree-Of-Freedom robot! It takes up an entire room and can be given gcode to perform some amazing camera effects.  My rig isn’t as cool, but much more mobile and simpler to build.

Camera sliders are fun tools to use for making dynamic timelapse videos, and they come with some cool features.  This is a clever little gadget that moves like a camera slider but folds much smaller.  Eggtimers are also commonly used to make a similar effect.  Some high-end gear can slide and rotate the camera at the same time for a particularly cool effect.  But how do you guild one that one that could go up to 11?

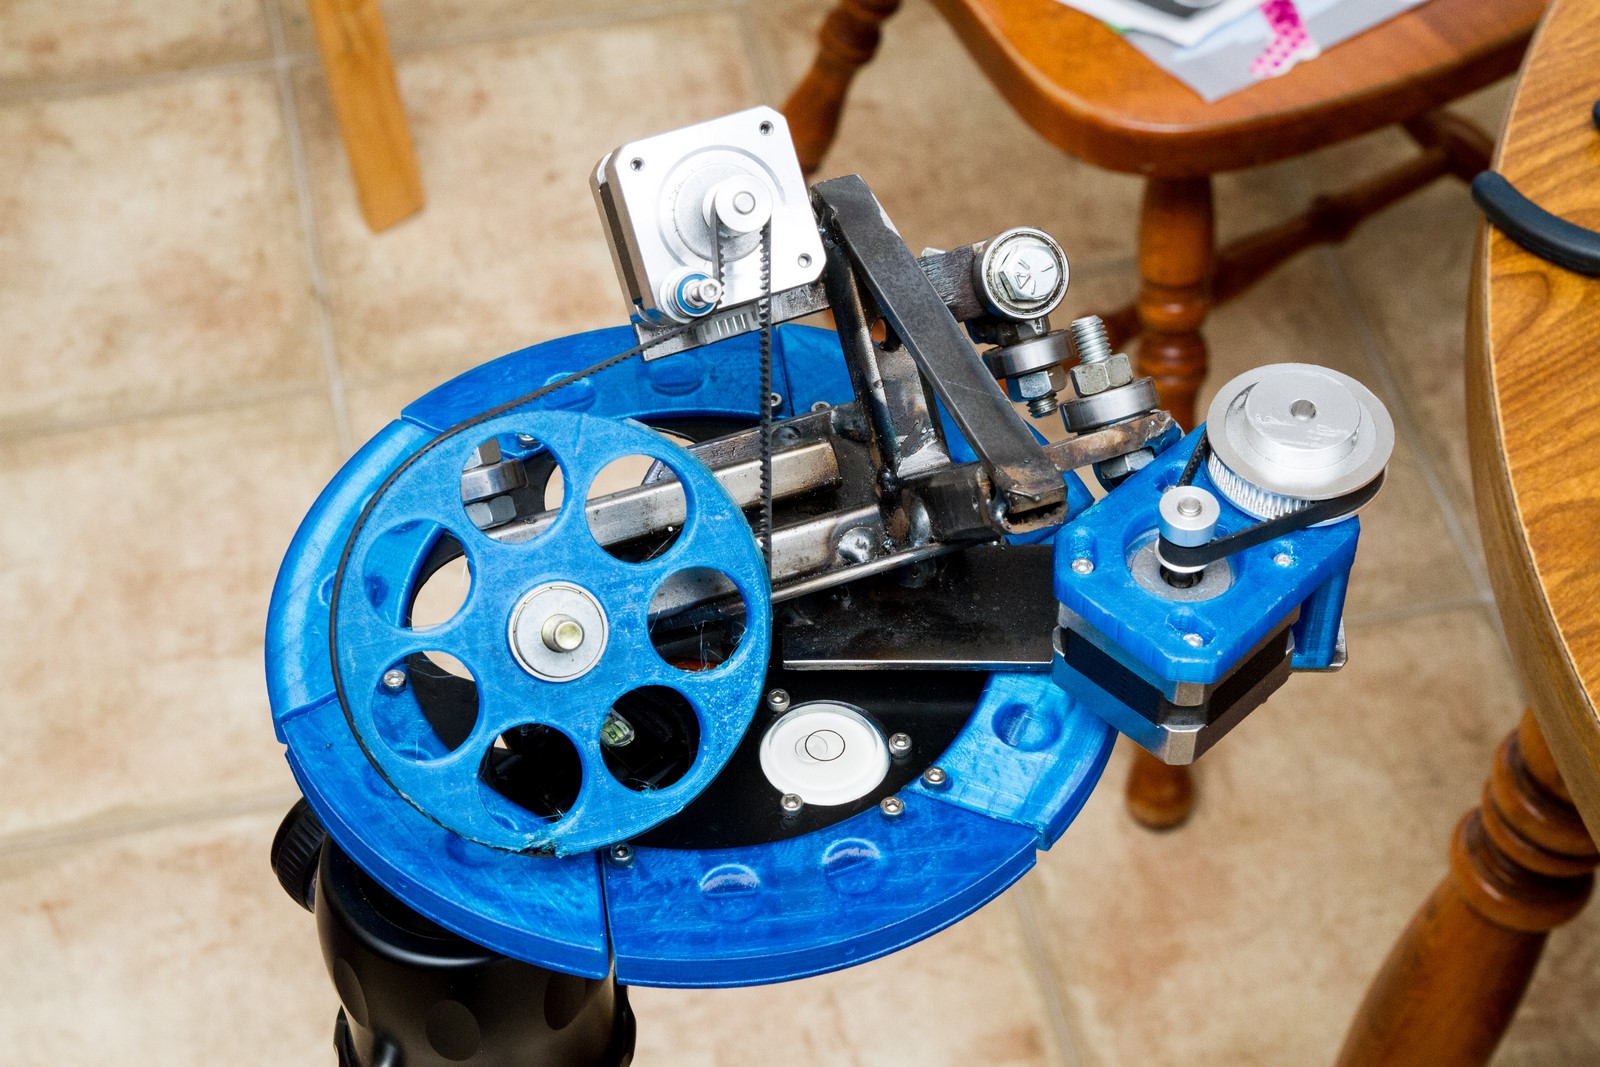
IREnE (Inverted Radial, Extension, Eggtimer) is not only named for the clever woman (nee Adler) who outsmarted Sherlock Holmes , but also the clever functions it can perform.  The ‘Inverted Radial’ is the slider’s defining feature which doesn’t seem to be possible on any consumer camera sliders.  It moves the camera in a circle around the foreground subject in a way that keeps the subject in view while the background view is constantly changing.  Here are some examples:

Read more

3D Printed Solar Film Holder

Preamble:

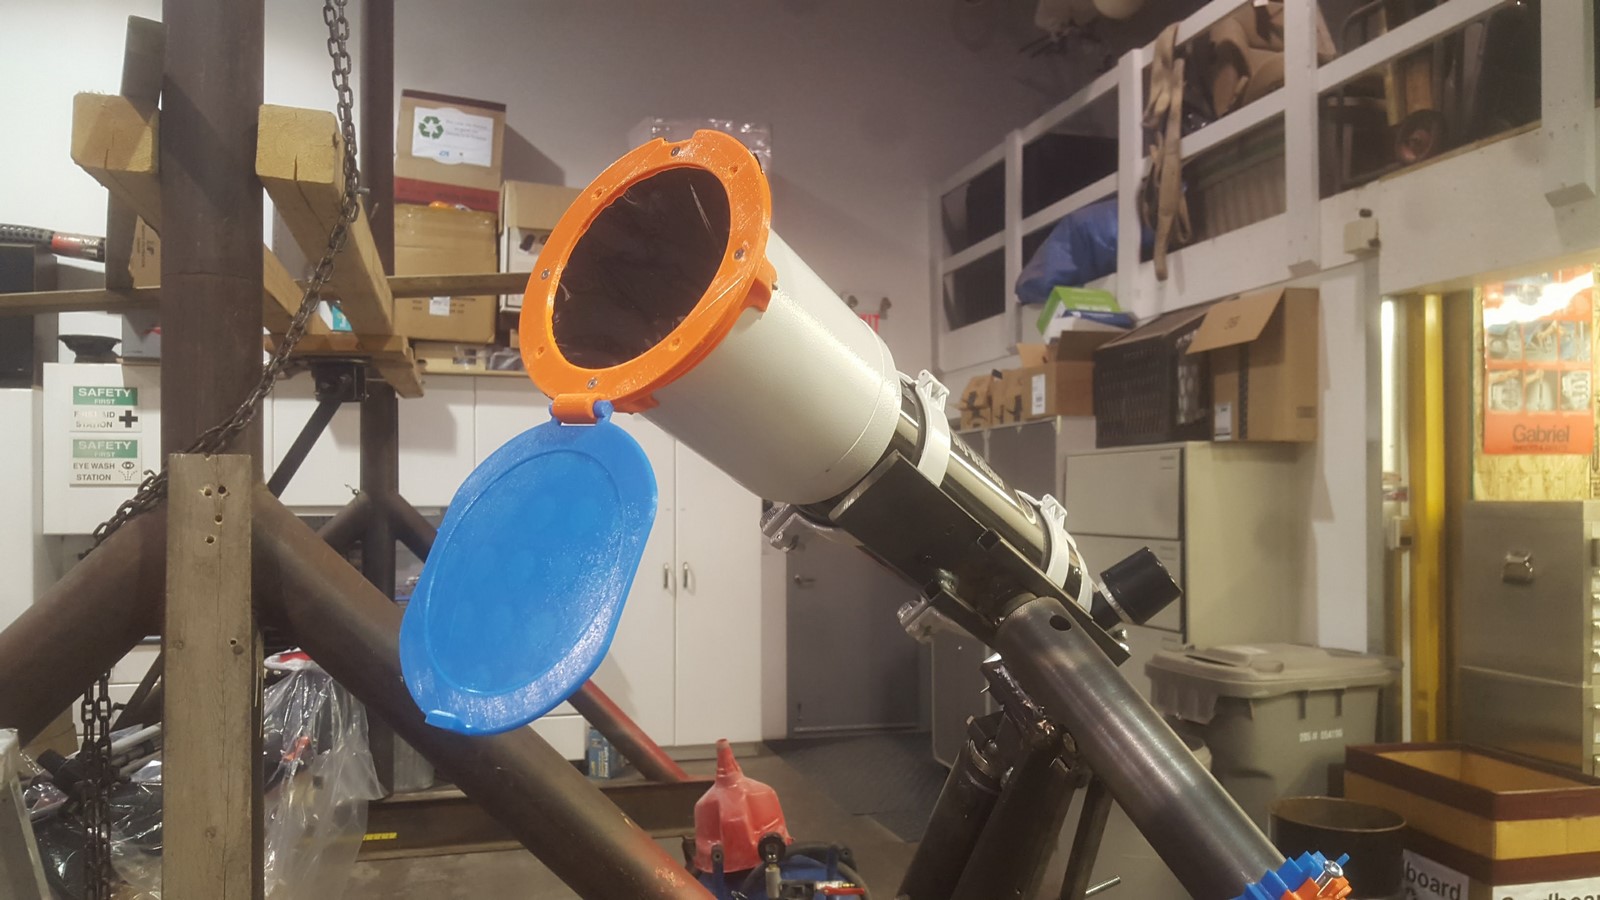
At the last minute, I purchased a sheet of Baader Planetarium solar film for the eclipse on Monday.  With little time to spare, the film was taped to a cardboard box and slid over my telescope.  Prayers were made that the wind wouldn’t blow the film off of the scope, and the next day I decided to build a proper holder for the expensive film – $100 CAD for an 8″ x 11″ sheet!

Read more

Camera Slider 1.0 #DIY

I’ve recently been keen on learning how to use and control stepper motors in a practical application. And it became apparent that the use of a stepper motor in a photographic slider (herein referred to as a PanoSlider) was an excellent challenge to start with. The reason? The PanoSlider had to provide fast, smooth, accurate, and powerful motion while being controlled by an intuitive user interface.
The actual design of the PanoSlider began in a typical fashion: by wandering around my collection of materials and devising a simple, easy, solid structure. I settled on a discarded construction level as a frame. 3/4″ PVC pipes were screwed onto the sides with sheet metal screws, and hot-melt glue (HMG) was added to prevent the pipes from rotating.  HMG is a generally underrated material, and its use is often limited to children’s crafts (and results in many finger burns).  In reality, it can be used as a fast-setting substrate with good strength, and its poor bond strength is useful in making temporary joints (for instance – I mounted the Arduino board to the PanoSlider assembly with HMG, then simply broke it off when it was no longer needed).

Read more

Tracker V2

NOTE: The Tracker V2 I described below had a major flaw: the curved threaded rod.  It was removed from the design and replaced with a straight section of Acme rod in Tracker V2.1, which works very well.  See Tracker V2.1 for more information and be aware that using a curved section of standard threaded rod is a bad idea!  Further improvements and a paint job were added for Tracker V2.2.

Having finished a first attempt at building a working Star Tracker, I’ve recently set out to build a second (final) version.  The goal was to use scavenged (read: FREE) mechanical components and cheap electronics from eBay China to build an automated tracking mount which could be used to capture high-quality DSO (Deep Space Object) and Planetary images.  I’ve also made an attempt to make it look nice.

The main body of the tracker was based around the pivot assembly – a modified treadmill roller.  Treadmills contain a large amount of useful mechanical and electrical components, so I try to pick up any old treadmills being given away on the local classifieds.  After disassembling the roller, I shortened the shaft and body to a practical and aesthetically pleasing length.

Starting point – Treadmill roller
Disassembled
Shortened
Bearing and bushing – simply presses in and out

Read more

Tracker V1 – Proof Of Concept

NOTE: See the more recent Tracker V2.1 post for a working star-tracking mount. I’ve recently developed a healthy interest in astrophotography.  A very useful tool for photographing the great beyond is an astrotracker.  It counters the rotation of the earth (360 degrees per day) and allows for long exposure times without creating star trails.  Here’s … Read more

DropCam – High Speed Photography

Inspiration for this project came from a MakeZine project: http://makezine.com/projects/high-speed-splash-photography-with-arduino/

Using a lightstand as a base, this Lego build was positioned above a glass bowl filled with water.  An Arduino Uno board controlled the camera shutter, a flash, and the Lego ‘Dropper’.  The time delay between the drop and the flash trigger was entered into a laptop.  The results can be seen at: https://flic.kr/s/aHskhKLsh9.  A video of the rig in action is shown below.

Read more