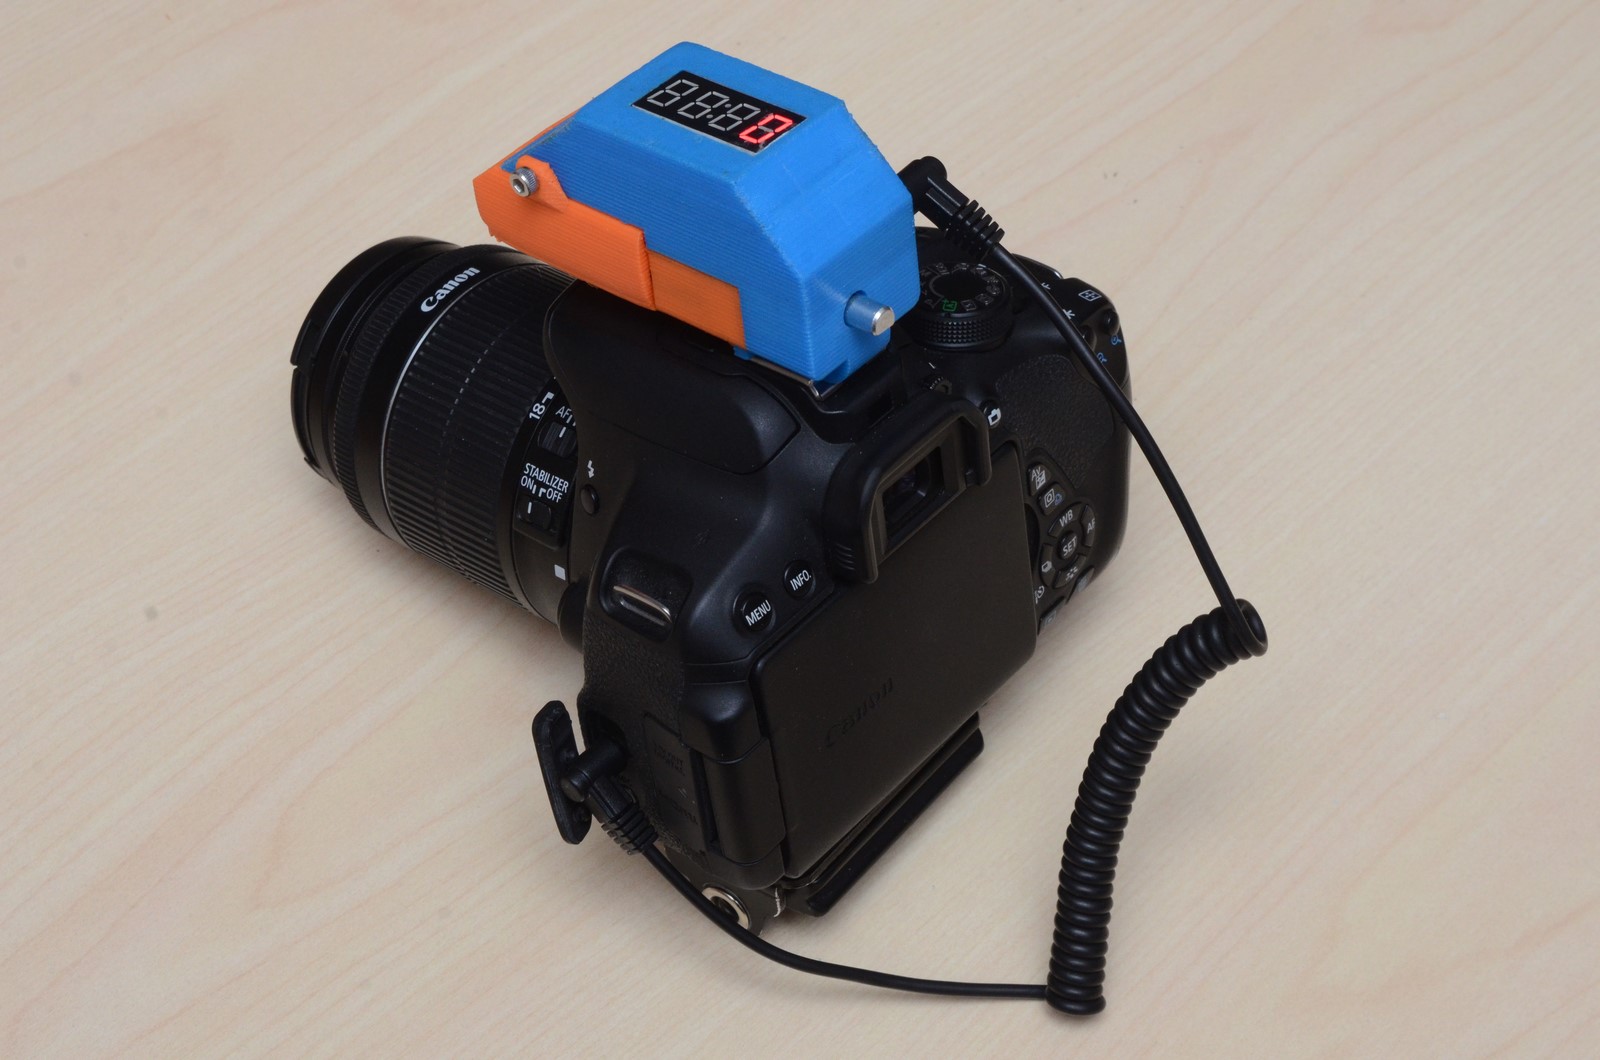
A simple trigger for high-speed photography is the ‘tripwire’ trigger. Unfortunately few (if any) commercially available flashes are configured for this trigger. Thankfully, an Arduino-based trigger controller is very easy to make. I will also shamelessly plug Edgerton, an open-source LED flash specifically designed for high-speed photography, that can be tripwire-triggered without any major hardware!
How It Works:
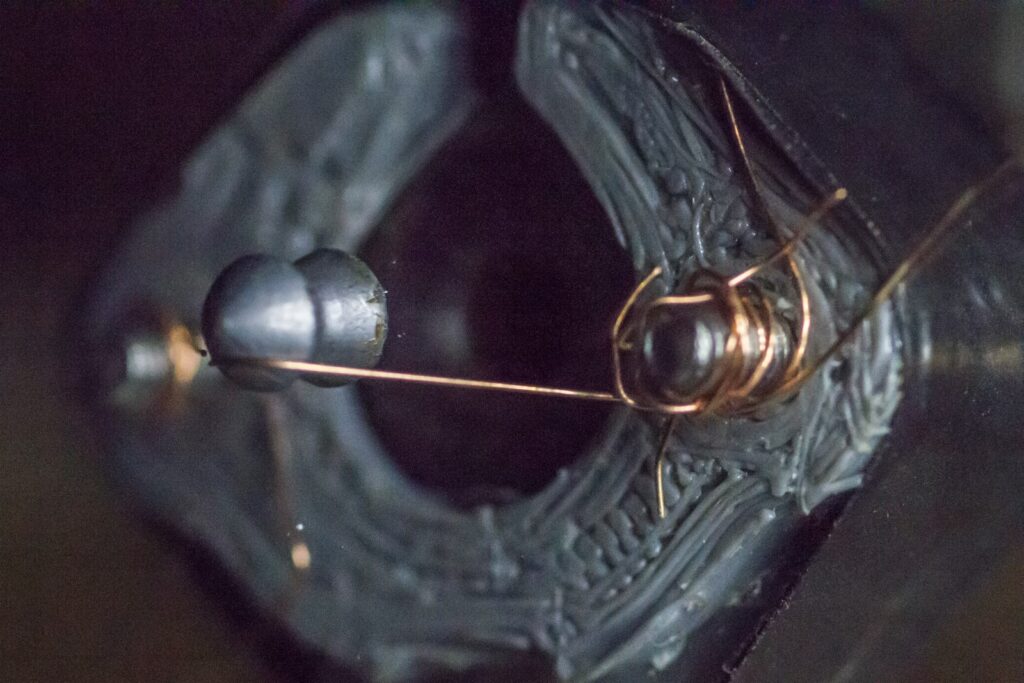
A small bracket must be built for the muzzle of your rifle (or whatever you are using). Two pins protrude from the end of the bracket and a fine wire is wrapped between the pins. The pins are connected to a port (I use a 3.5mm audio port) which can be connected to Edgerton or the trigger controller by an extension cable.
When the projectile exits the muzzle, it passes through the wire and breaks it. The two pins, which were once connected by the wire, are now ‘open’. Edgerton or the flash controller detects that the pins are separated and a timer is started. After the timer finishes, the flash is triggered.