An Update

Hello fellow enthusiasts,

This is an apology and an explanation. Over the past several years I’ve benefited a TON from the open-source community and had lots of fun coming up with my own designs. I’ve worked hard to document and share those designs online.

This pandemic has opened up a couple cool opportunities for me within my own community, and I’ve shifted my focus from the fun projects on this website to volunteering here in my hometown. This won’t last forever, but for the time I am just very short on time for hobbies (and that sadly includes photography, my ‘leisure hobby’).

I hope to return to developing and maintaining these projects SOON, but there’s no time frame in place right now. It’s been so much fun corresponding with you all and I miss that. I’m planning on allocating time each week to replying to emails and comments, so hopefully I won’t need to apologize again!

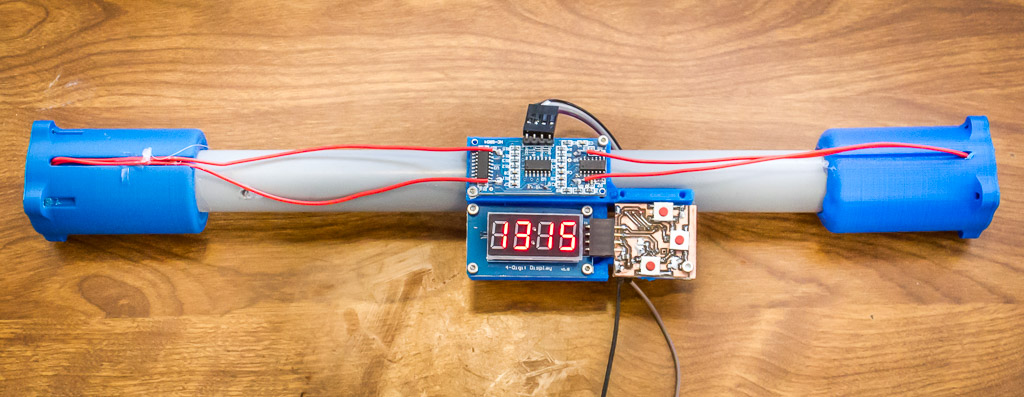
Now with that said, I’ve had just a little bit of time to develop the ballistic chronograph sensors. The new LG0 Rev 4 board design is complete and will be slightly cheaper and have two status LED’s. A brand-new LG1 board is nearly complete will have the same basic design and footprint, but additional circuitry will have two additional outputs and status LED’s: ‘Trigger-Low‘ and ‘Trigger-High‘ indicate whether the trigger state has gone low or high in the past 0.2 seconds. This will allow for easier setup and compatibility with poorly-optimized firmware. These boards will hopefully enter production soon.

Very Best,

Tyler

Enhanced Speedlight Strobe Duration Testing

Using Speedlight Strobes for High-Speed Photography

Thanks to various sources on the internet, I learned that speedlight strobes are fairly fast but not quite fast enough to truly freeze a bullet. Speedlights work differently than studio strobes in that the flash exposure is controlled by the amount of time that the IGBT is turned on and current is flowing through the xenon flashtube.  So the best power level for high-speed photography is the minimum power setting, typically 1/128.

Testing flash strobe duration

However, during the TTL pre-flash, speedlight strobes will emit an even shorter flash pulse! This extra-short flash is not an available setting, but Cactus appears to have figured out how to command an extra-short flash and their V6 transceiver has an option for extra-quick strobe duration: LO.

In an effort to find the best speedlight strobe for high-speed phtogoraphy, I tested four Speedlight strobes (Nikon SB-910, Nikon SB-800, Yongnuo YN-460 II, and Canon 430EX-II) both with AND without the Cactus transciever.  The bottom line still remains: an LED flash still outperforms any speedlight strobe in terms of speed!

Read more

Cheap Trigger for High-Speed Photography

A simple trigger for high-speed photography is the ‘tripwire’ trigger.  Unfortunately few (if any) commercially available flashes are configured for this trigger.  Thankfully, an Arduino-based trigger controller is very easy to make.  I will also shamelessly plug Edgerton, an open-source LED flash specifically designed for high-speed photography, that can be tripwire-triggered without any major hardware!

How It Works:

A small bracket must be built for the muzzle of your rifle (or whatever you are using).  Two pins protrude from the end of the bracket and a fine wire is wrapped between the pins.  The pins are connected to a port (I use a 3.5mm audio port) which can be connected to Edgerton or the trigger controller by an extension cable.

When the projectile exits the muzzle, it passes through the wire and breaks it.  The two pins, which were once connected by the wire, are now ‘open’.  Edgerton or the flash controller detects that the pins are separated and a timer is started.  After the timer finishes, the flash is triggered.

Read more

Automating GIMP

Let me be clear about something.  GIMP is probably my favourite piece of open-source software.  Truth told, I could have a license for Photoshop or PaintShopPro, and I would still use GIMP.  That’s because it is so focused on functionality over style – which means that, despite its limited development (it’s open-source after all), it is a program that has the horsepower to compete with the big players.  All you have to do is learn its quirky UI!

Read more

CNC Pancake Printer #DIY

Printing Pancakes With A Camera Dolly?

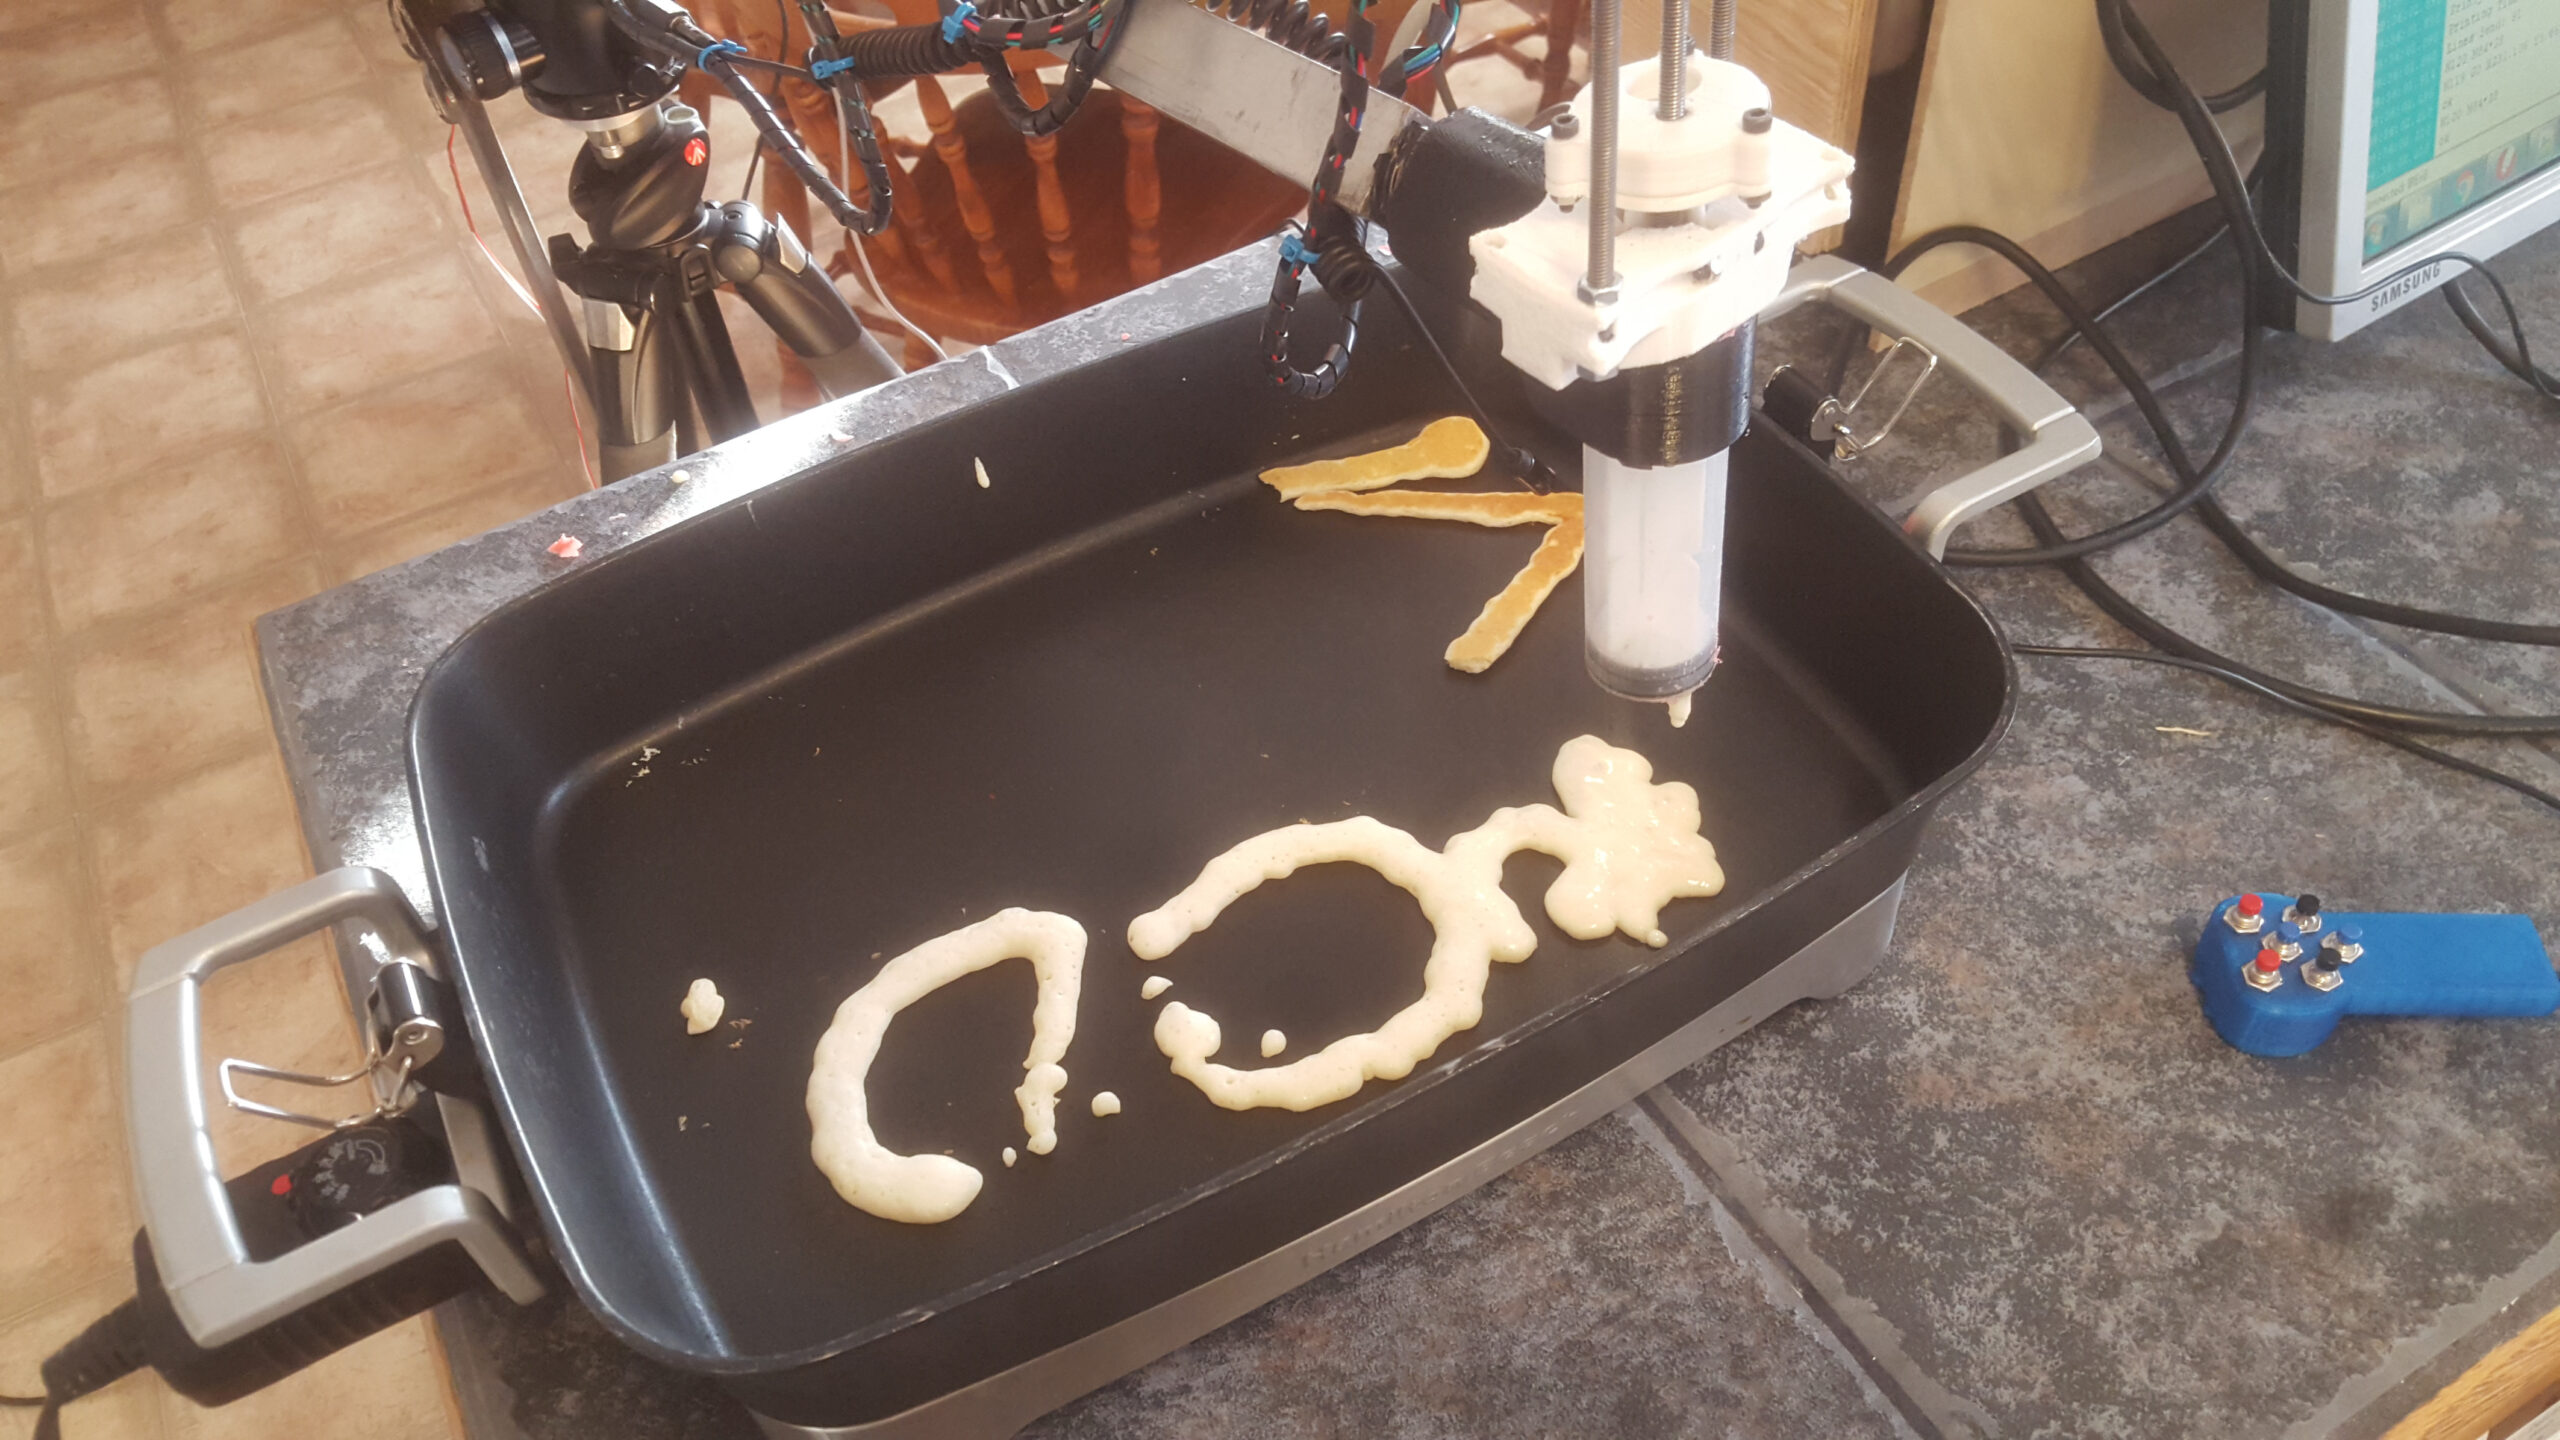
My kids are enthused by 3D printing, casually remarking about things they could ‘just print’.  Recently they asked to build a pancake printer – what a cool idea!

20181215_100232.jpg

I thought about how to build a simple batter extruder and gantry.  It didn’t take long to realize that IREnE, my new DIY camera dolly, is the perfect platform to use as a ‘theta-style‘ gantry!  So I set about adding pancake printing functionality to the camera dolly.

Read more

MIKRO-CHRONOGRAPH (ATTiny85 Camera Intervalometer) #DIY

Camera-Mounted Intervalometer

PREAMBLE:

A friend and I set out to build a camera intervalometer for DSLR cameras.  Instead of following one of the many build guides available online, we decided to design our own – The Mikro-Chronograph.  Check out the feature list:

  • 2x AA batteries with a ridiculously long battery life
  • LED display functions in any temperature (eg. Canadian winter) and has fancy features such as scrolling text and swirling icon
  • Tiny!
  • Encoder/button combo input is very simple and intuitive
  • Very fast to setup: Initial Delay, Shutter On Time, Shot-Shot Delay, and Number of Shots
  • Automatically load the last settings each time the intervalometer is turned on (with EEPROM wear levelling algorithm, it will easily outlast a professional camera)
  • Can be extensively customized without reprogramming, including screen orientation & brightness, input styles, clock speed calibration, and memory behaviour
  • Safe to use with any DSLR, thanks to the optoisolator
  • Price Tag: less than $20 CAD

If you want to build one, just get the components listed, wire them up on a PCB board (look at the photos below for a layout guide), program the ATTiny85 with the available code, and build a case.  All of the details can be found on Google Drive.  The 3D printed case designs are on Thingiverse.

Read more

3D Printed Solar Film Holder

3D Printed Solar Filter for Telescope

Preamble:

At the last minute, I purchased a sheet of Baader Planetarium solar film for the eclipse on Monday.  With little time to spare, the film was taped to a cardboard box and slid over my telescope.  Prayers were made that the wind wouldn’t blow the film off of the scope, and the next day I decided to build a proper holder for the expensive film – $100 CAD for an 8″ x 11″ sheet!

Read more

Pyrography Power Supply #DIY

Woodburning, Not Money-Burning

Wood burning is a popular hobby which can become quite expensive.  A quality wood burning system consists of: 1. A pen or selection of pens and 2. A power supply (station).  I decided to invest in a series of Razertip wood burning pens simply because they were available at a local Lee Valley Tools store. They also have a 1-year unconditional warranty!  If I end up destroying a pen with a home-built supply then we will find out just how unconditional the warranty is.  The pens are available for ~$30 each, which can become a significant investment if you want more than one or two.  The stations run for $165 and up, which is the same price as six pens!  So lets ditch the station.

Read more