Let me be clear about something. GIMP is probably my favourite piece of open-source software. Truth told, I could have a license for Photoshop or PaintShopPro, and I would still use GIMP. That’s because it is so focused on functionality over style – which means that, despite its limited development (it’s open-source after all), it is a program that has the horsepower to compete with the big players. All you have to do is learn its quirky UI!
While all GIMP users are familiar with its GUI, it also has a Command-Line Interface (CLI). The CLI is powerful for batch processing images, but (in my humble opinion) useless for the casual user, since the syntax is bulky and clunky. I also found the CLI documentation isn’t great, so here I will describe how to use it AND provide a tool I built to take better advantage of it.
The Procedure Database and Tiny Scheme:
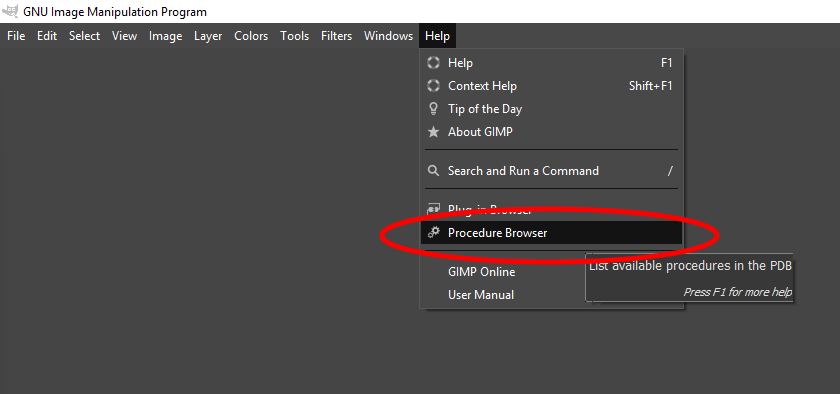
All commands in the CLI are (lightly) documented in the Procedure Database (PDB). It can be accessed in the main program, under Help -> Procedure Database.
The commands use a language called Tiny Scheme, although I’m simply going to refer to it as ‘Scheme’. Here’s a list of the datatypes and their syntax:
- Integer
(Various bit sizes) - Float
(Unknown precision) - Array
(various bit sizes)
#(0 0 20 70 255 255) - String
\”This is a string\”
It is very important that backslashes are not used anywhere except for string syntax. - Image
(The image currently opened in GIMP)
The image number is displayed on the GIMP titlebar (eg. Untitled-1.0).
The first image opened in a batch is image 1, the next is 2, etc. - Drawable
(the layer, identified by a number)
The first layer when an image is opened is 2. Each new layer is incremented. - Color
(0 0 0) to (255 255 255) - Channel
(unknown)
Command Line Batch Usage:
The following is an example of a command line batch process.
“C:\Program Files\GIMP 2\bin\gimp-console-2.8.exe” “open file path and name.JPG” -i -d -f –verbose -b “(gimp-curves-spline 2 HISTOGRAM-VALUE 6 #(0 0 20 70 255 255) )” -b “(gimp-file-save 1 1 2 \” save file path and name.JPG\” \” save file path and name.JPG \”)” -b “(gimp-quit 0)”
Explanation:
- C:\Program Files\GIMP 2\bin\ is the location of gimp-2.8.exe on my pc.
gimp-console-2.8.exe hides the interface. gimp-2.8.exe shows the interface. - -i = NO GUI INTERFACE
- -d and -f tells GIMP not to load fonts and special brushes (faster). Probably leave them out if you’re not in a hurry.
- –verbose Show what GIMP is doing
All batch commands use the following format:
-b (gimp-plugin-name var1 var2 var3)
GIMP Batch Tool:
All that to say, it’s really not worth using the CLI without an aid. So I wrote the GIMP Batch Tool, a VBscript program that can take commands with simple syntax and construct the CLI command to edit multiple photos at a time.
GIMP Batch Processor on Github.
The tool currently allows easy photo resizing and annotating. It also allows any command you find in the PDB, but you will have to enter the syntax manually.
To use, just download the script and run it. It will create a user settings file, which you can open and edit. There are several examples included in the file. When you’re ready, save the user settings file and drag-and-drop all the desired photos onto the GIMP Batch Processor.vbs script.