This page is currently being populated with past experiment data. All future experiments will be added shortly after their completion.
The plans for Edgerton are available for anyone to build their own high-speed flash. I designed the flash by building a prototype and doing lots of testing. Until now, I haven’t kept an updated log of all the experiments performed on the LED’s. Maybe some people would like to see all the details behind the designing and prototyping of the flash. Others may be interested in designing their own high-speed LED flash.
The complete experiment logs can be found at github.com.
While building my CNC mini-mill, I purchased a 500W air-cooled spindle from eBay. It came with a power supply, which looked great and I (falsely) assumed it would work perfectly on my home-built mill.
Boy was I wrong! The mill worked great as long as the spindle was turned off. Whenever the spindle was on, there was a chance that the mill’s microcontroller would reset (bad), lock up (worse), or would suddenly enter an infinite loop (really really bad!) and an axis motor would begin moving in some direction until I noticed and stopped it.
After much work identifying and rectifying the causes, the power supply has finally been tamed. Here’s a guide for anyone having the same issues.
A simple trigger for high-speed photography is the ‘tripwire’ trigger. Unfortunately few (if any) commercially available flashes are configured for this trigger. Thankfully, an Arduino-based trigger controller is very easy to make. I will also shamelessly plug Edgerton, an open-source LED flash specifically designed for high-speed photography, that can be tripwire-triggered without any major hardware!
How It Works:
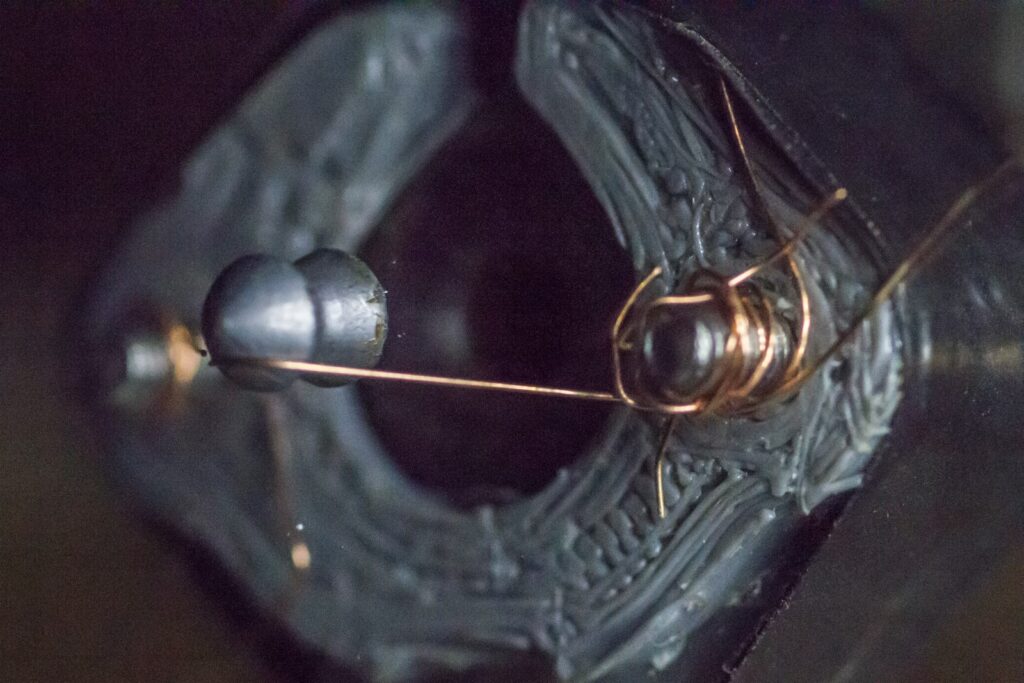
A small bracket must be built for the muzzle of your rifle (or whatever you are using). Two pins protrude from the end of the bracket and a fine wire is wrapped between the pins. The pins are connected to a port (I use a 3.5mm audio port) which can be connected to Edgerton or the trigger controller by an extension cable.
When the projectile exits the muzzle, it passes through the wire and breaks it. The two pins, which were once connected by the wire, are now ‘open’. Edgerton or the flash controller detects that the pins are separated and a timer is started. After the timer finishes, the flash is triggered.
2019-07-25 – The list price of the well-designed Vela One has recently dropped. I originally quoted it at about $1,750 CAD but unfortunately don’t have any proof. As of today, the Vela website indicates it is exactly $1,526.70 CAD. The archive.org website shows that the price has indeed fluctuated over time.
2019-08-01 – A big THANK YOU to NQTRONIX who has kindly gifted me an active light probe of his own design. The probe will be used with an oscilloscope to measure the flash duration, trigger response time, light output -v- current, and other helpful things. I will update this post with the data once testing commences. NQTRONIX put a TON of time into designing, testing, and optomizing his probe. Please consider checking out his instructable page and leaving him a like or comment!
2020-07-01 – The ‘Mark 2‘ high-speed flash is complete! The plans are available to build your own, or contact me if you’re interested in purchasing a strobe. I’m focusing my development on the new E2-A and promoting it as a replacement for the original Edgerton strobe.
If you’ve put money and effort into building the original Edgerton flash, please continue using it as it has the same performance as the newer E2-A.
If you are considering building a strobe, I would encourage you to use the newer E2-A design as a more robust design.
If you are set on building the original Edgerton strobe in order to save a few $$, then the main control boards are available at https://www.tindie.com/products/19592/.
2020-07-03 – I’m realizing that the following notes should have been added back when I first made this post, but better late than never. I’ve personally never experienced a catastrophic LED failure during normal use, but at the same time I feel potential users should be made aware.
IMPORTANT NOTE #1: This strobe pushes the capabilities of the LED’s. Complete failure of the LED’s is possible. That means the expensive components can be accidentally destroyed and require replacing. I’ve taken many precautions in the design to prevent this, but please consider building a strobe at your own risk.
IMPORTANT NOTE #2: The LED’s are not as powerful as a Xenon flashtube, and they do not turn on as long as a typical camera strobe. Expect to crank up the ISO by several stops (4 or more) in order to capture usable images.
EDGERTON
Named in honour of the legendary Papa Flash.
Some time ago I designed and built a ballistic chronograph and used it to take some high-speed photos of bullets striking glass. The results were great, but the photos were somewhat limited by the standard ‘speedlight’ flashes that I used – there was always some motion blur. Edgerton is a ‘High-Speed Flash’ which uses LED’s to make one-microsecond flashes to freeze motion.
Let me be clear about something. GIMP is probably my favourite piece of open-source software. Truth told, I could have a license for Photoshop or PaintShopPro, and I would still use GIMP. That’s because it is so focused on functionality over style – which means that, despite its limited development (it’s open-source after all), it is a program that has the horsepower to compete with the big players. All you have to do is learn its quirky UI!
This post is incomplete, but I hoped to begin sharing my tools and experience so others could hopefully benifit.
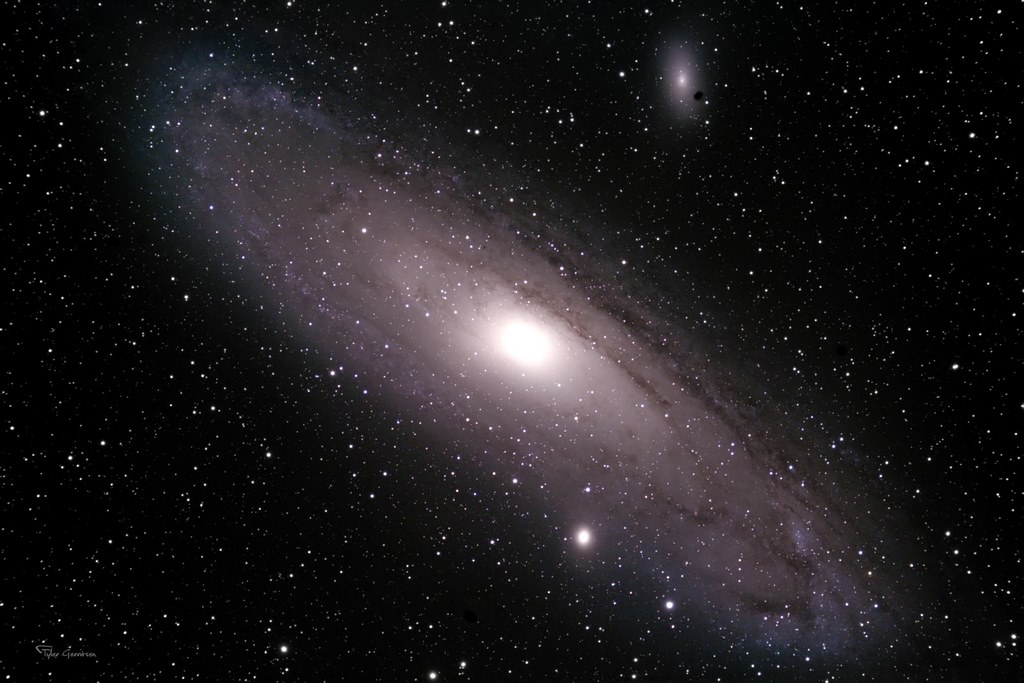
I’ve been stunned by some Hydrogen-Alpha (Ha) astrophotos. Particularly when they’re combined with visible light photos (HaRGB and some other ways) the depth is stunning!
Unfortunately my astrophotography budget has been spent for the forseeable future. This is my attempt to capture those photos using the following equipment:
If you build an astronomy device and want to control it with some awesome PC software, then you need to write an ASCOM (AStronomy Common Object Model) driver. There are great resources available for writing a single ASCOM driver for your DIY astronomy equipment. Check out the video on the ASCOM website for a guide … Read more
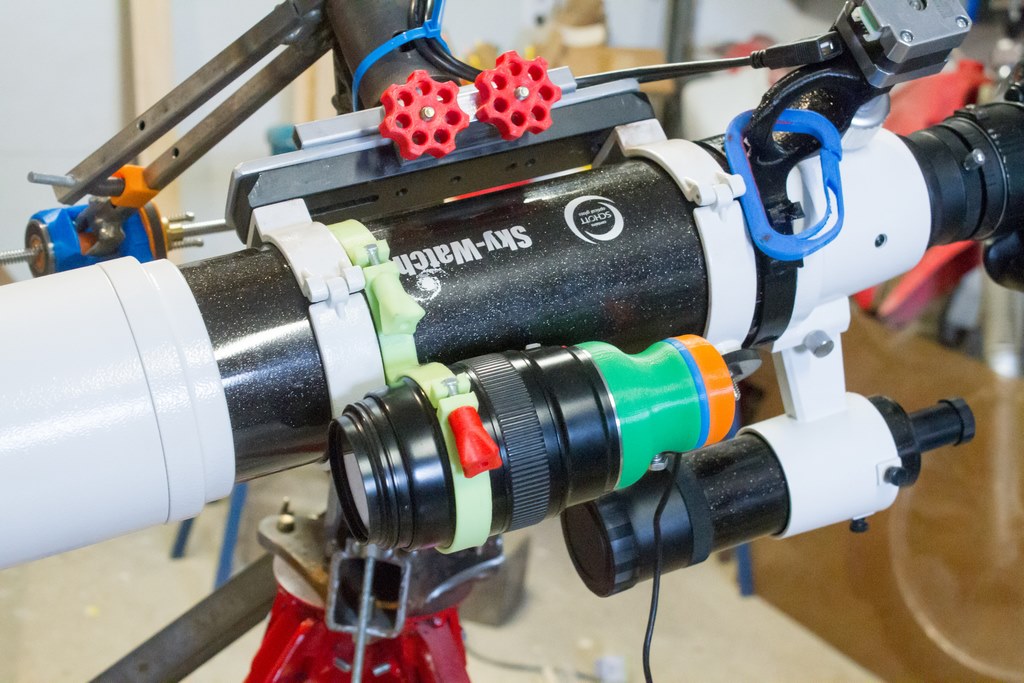
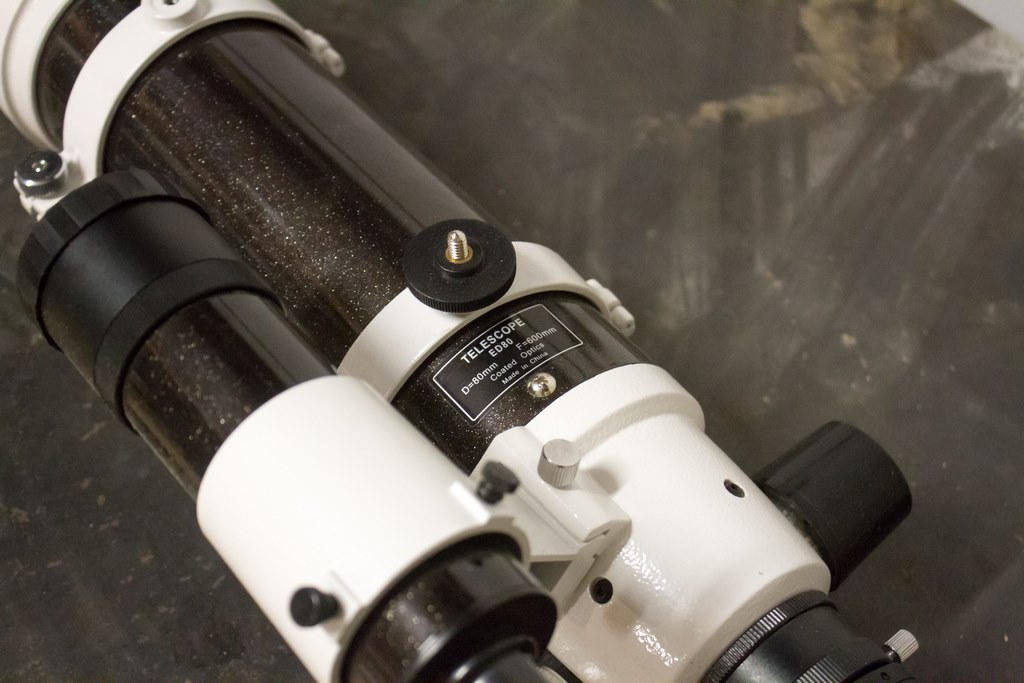
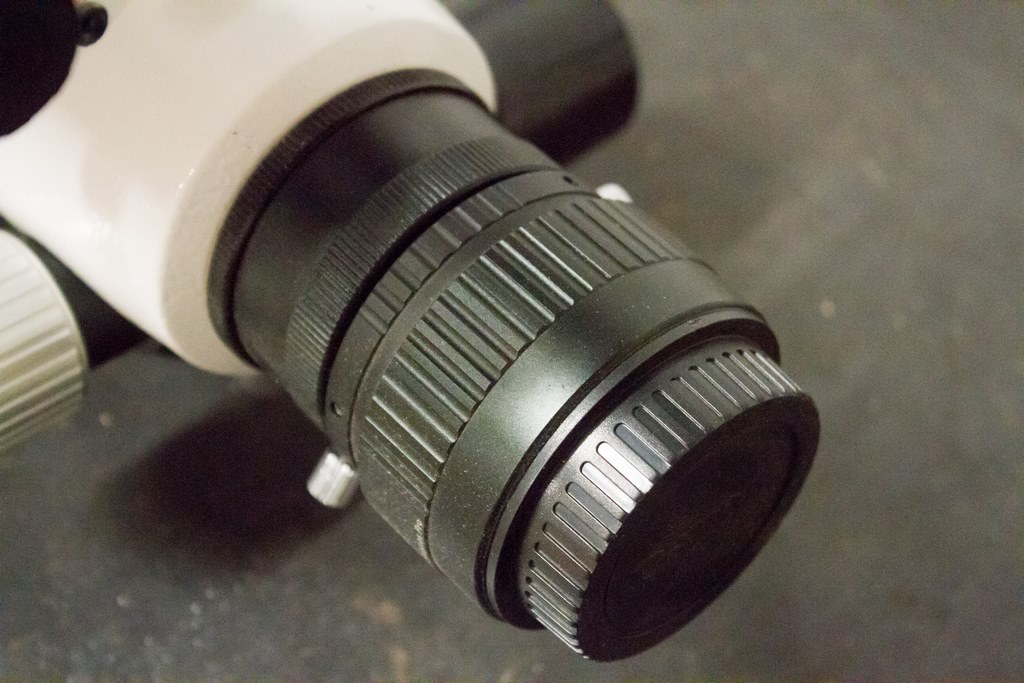
Astrophotography is a bit of a money pit. I recently delved into it with my 80-200 f/2.8L and a home-built tracking mount. It was so much fun that I decided to buy a telescope! So my entire budget went into an 80mm APO.
The problem was that a telescope alone is useless for star pics – some quality infrastructure is needed. This post is about my attempt to affordably build the following components:
High-precision Tracking Mount with an ASCOM-compliant driver
Guide camera and scope to help the tracking
Portable Power supply
Telescope Focusing motor with an ASCOM-compliant driver
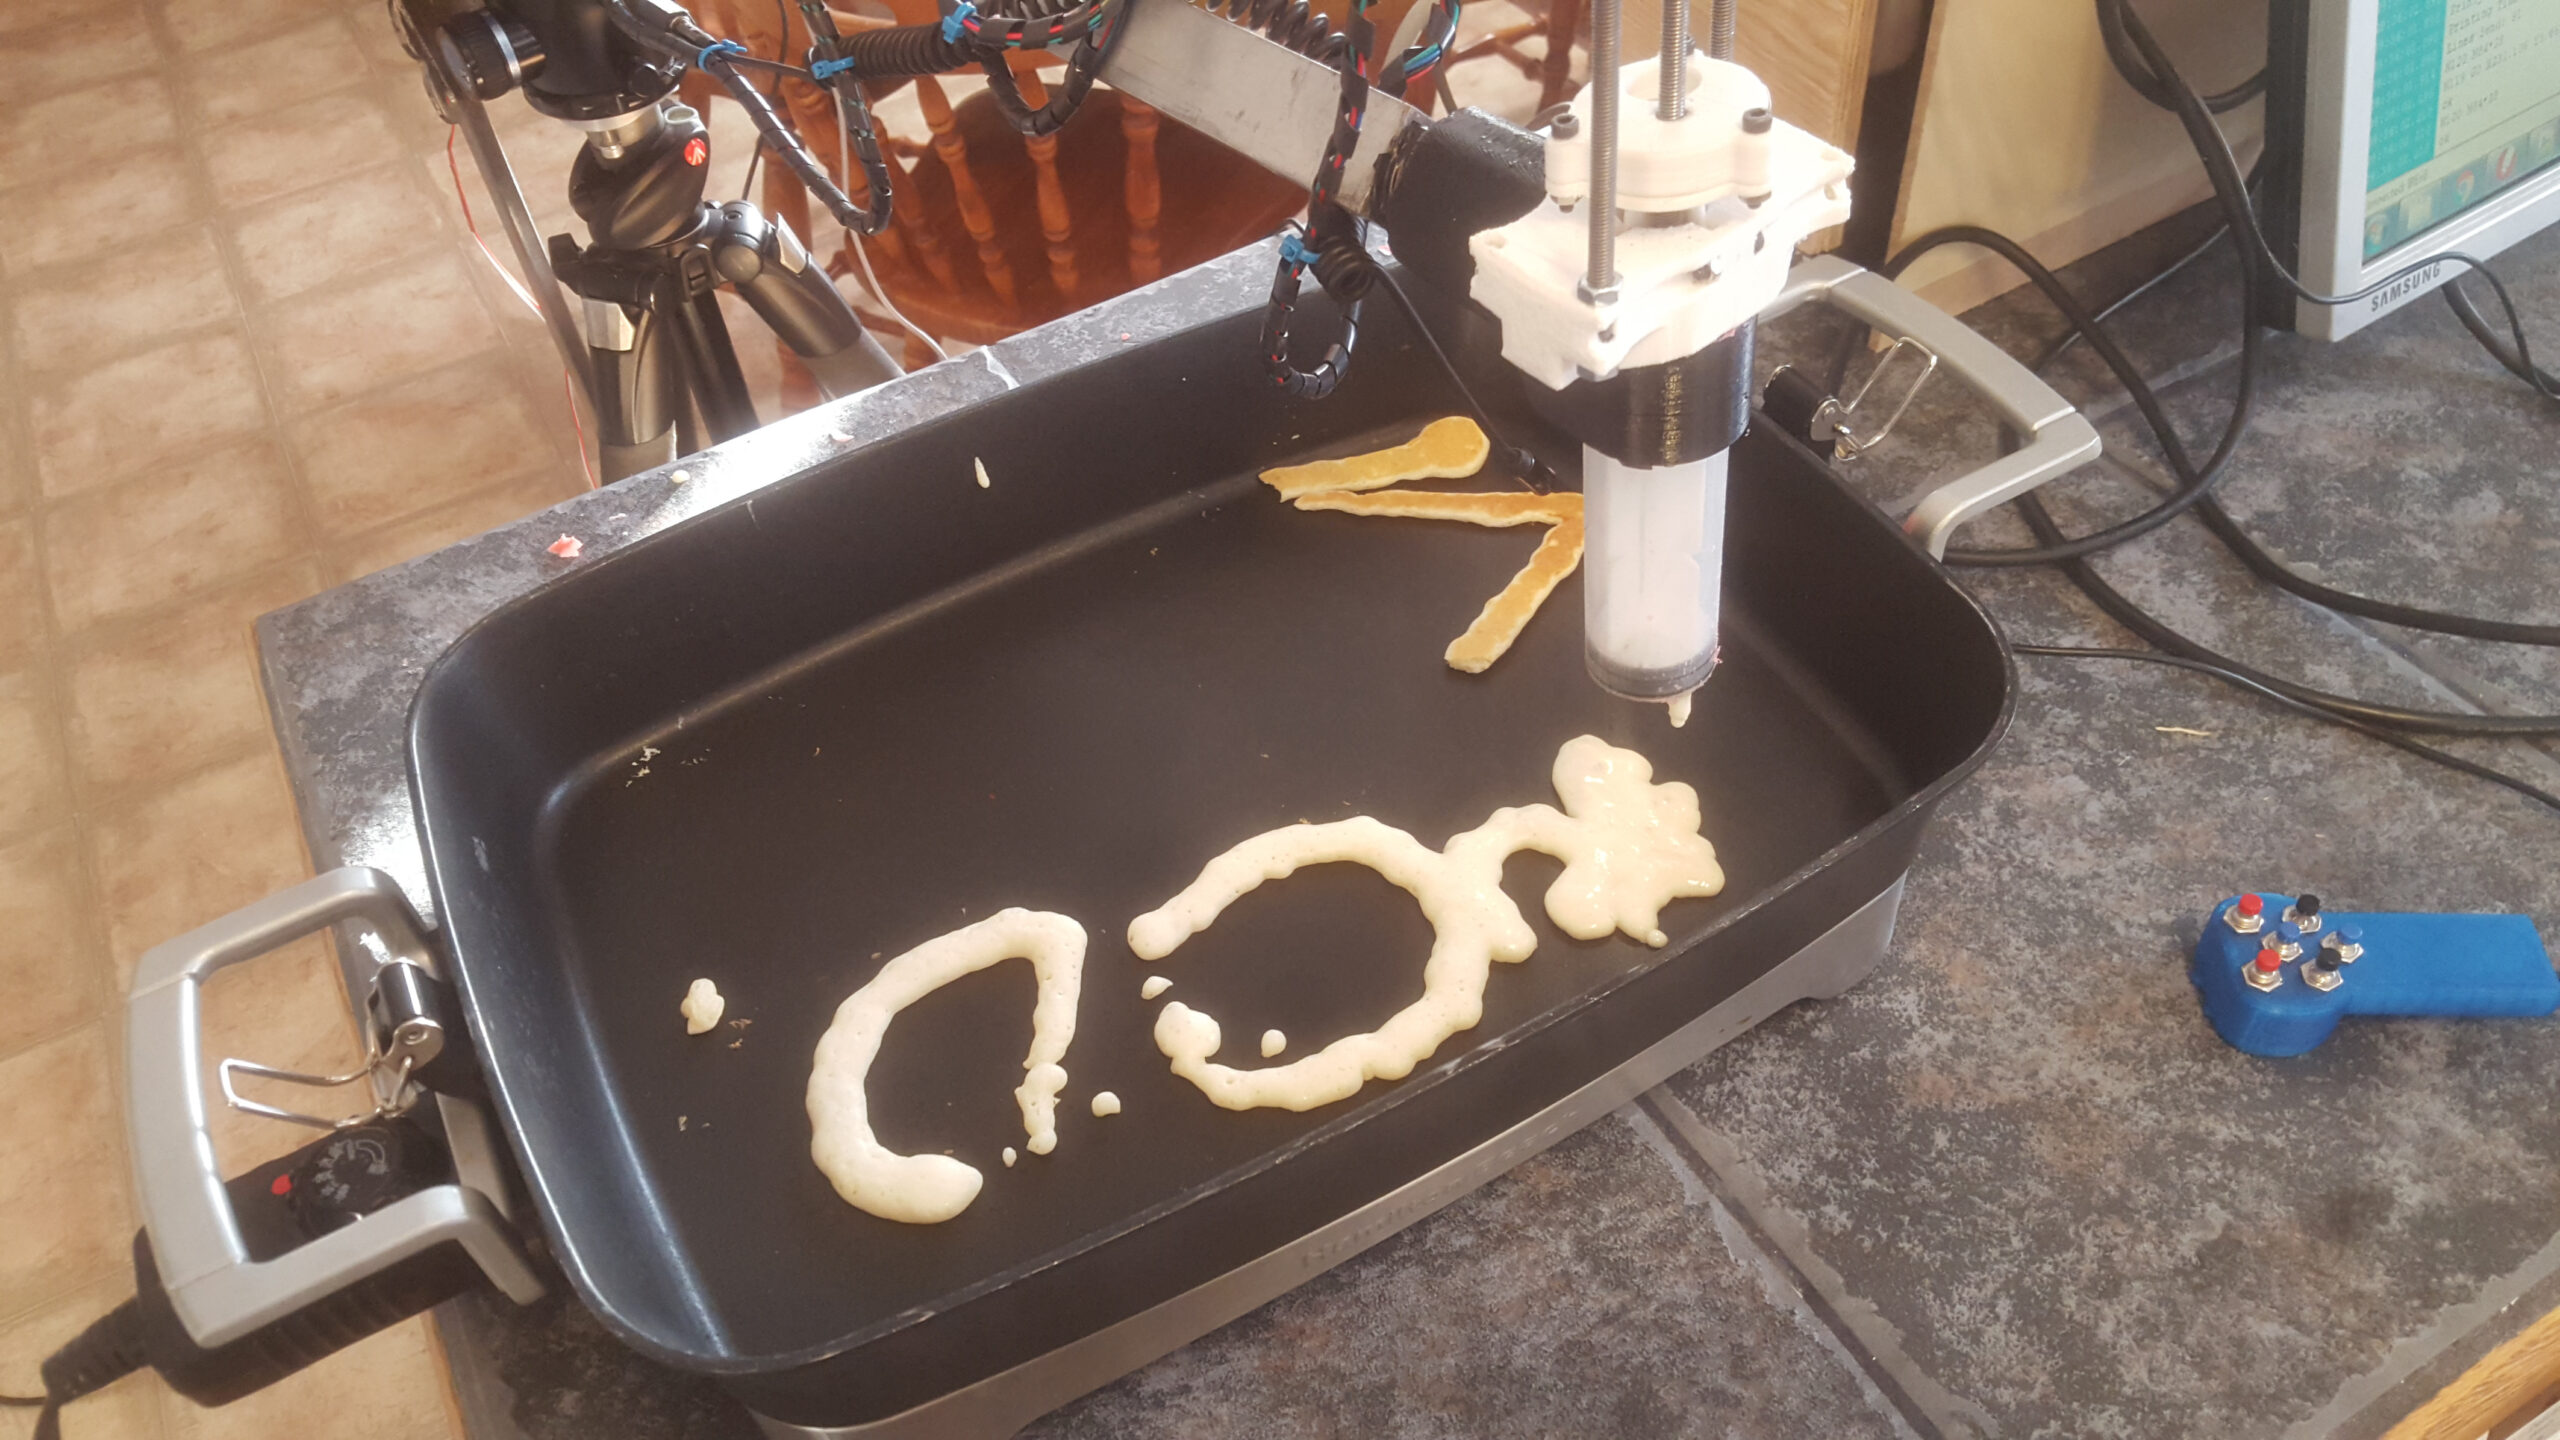
My kids are enthused by 3D printing, casually remarking about things they could ‘just print’. Recently they asked to build a pancake printer – what a cool idea!
I thought about how to build a simple batter extruder and gantry. It didn’t take long to realize that IREnE, my new DIY camera dolly, is the perfect platform to use as a ‘theta-style‘ gantry! So I set about adding pancake printing functionality to the camera dolly.
Note: As of August 26, 2019, the most incredible home-built camera rig award goes tomingul’s 8-Degree-Of-Freedom robot! It takes up an entire room and can be given gcode to perform some amazing camera effects. My rig isn’t as cool, but much more mobile and simpler to build.
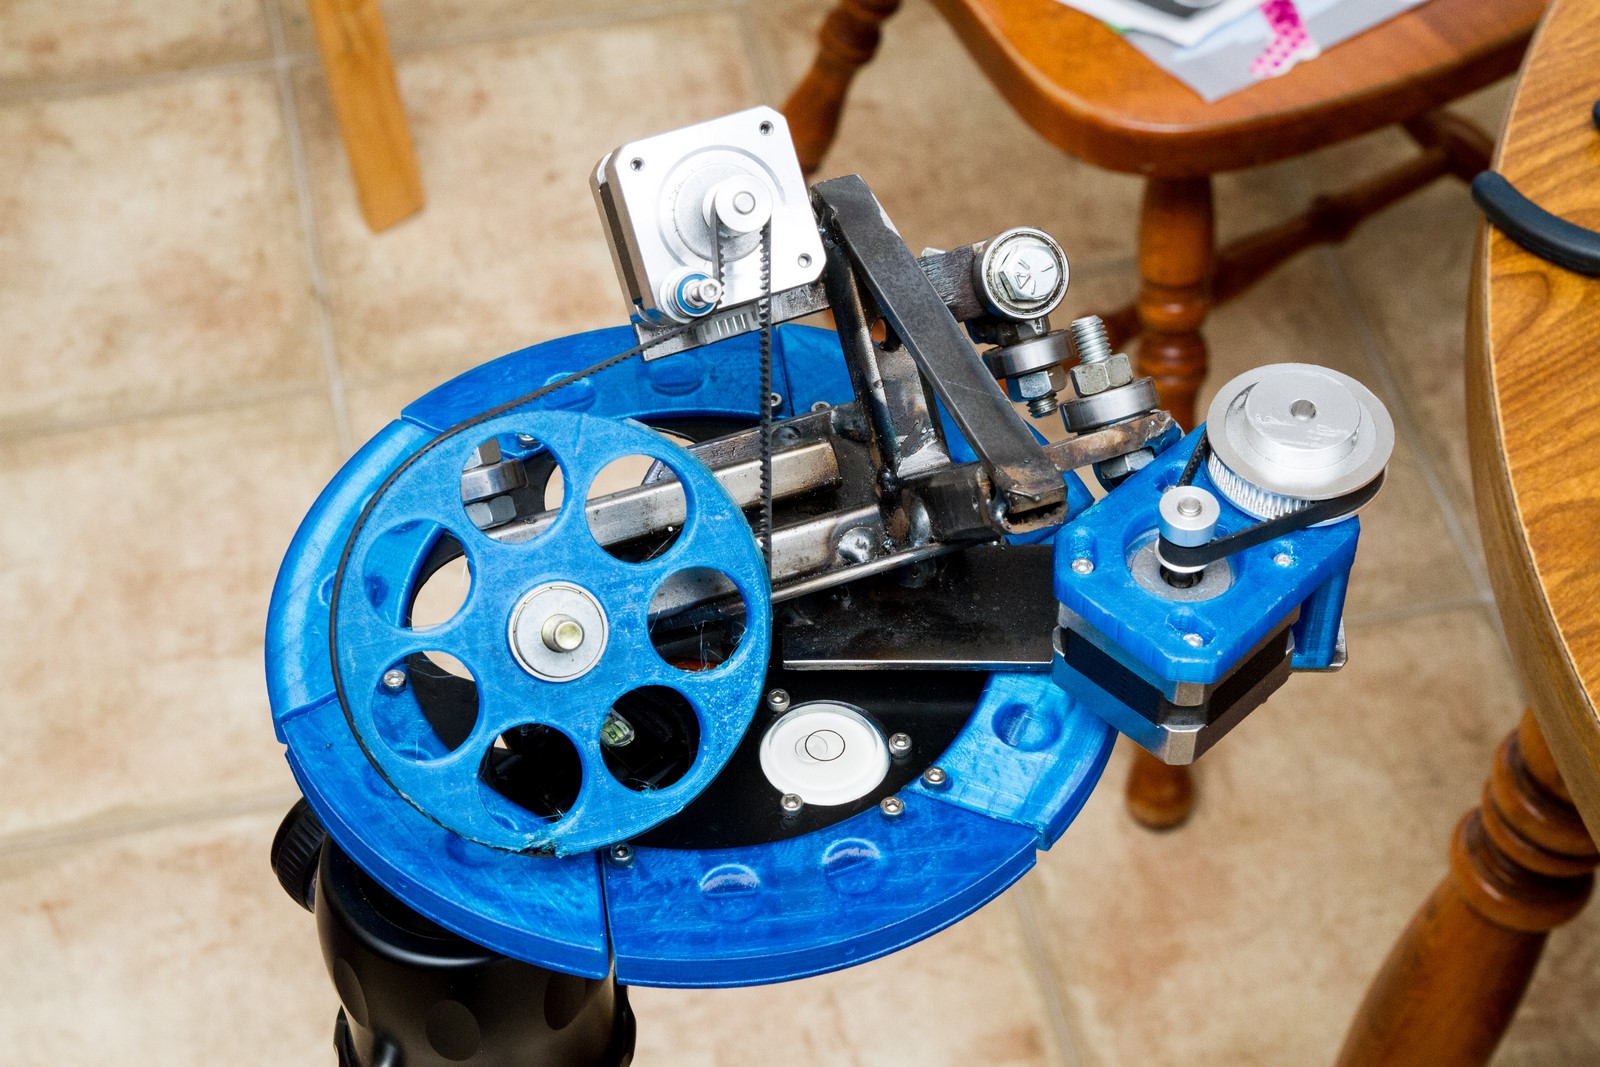
Camera sliders are fun tools to use for making dynamic timelapse videos, and they come with some cool features. This is a clever little gadget that moves like a camera slider but folds much smaller. Eggtimers are also commonly used to make a similar effect. Some high-end gear can slide and rotate the camera at the same time for a particularly cool effect. But how do you guild one that one that could go up to 11?
IREnE (Inverted Radial, Extension, Eggtimer) is not only named for the clever woman (nee Adler) who outsmarted Sherlock Holmes , but also the clever functions it can perform. The ‘Inverted Radial’ is the slider’s defining feature which doesn’t seem to be possible on any consumer camera sliders. It moves the camera in a circle around the foreground subject in a way that keeps the subject in view while the background view is constantly changing. Here are some examples: